


No more in love with your old bath cabinets? Or they really need a makeover?
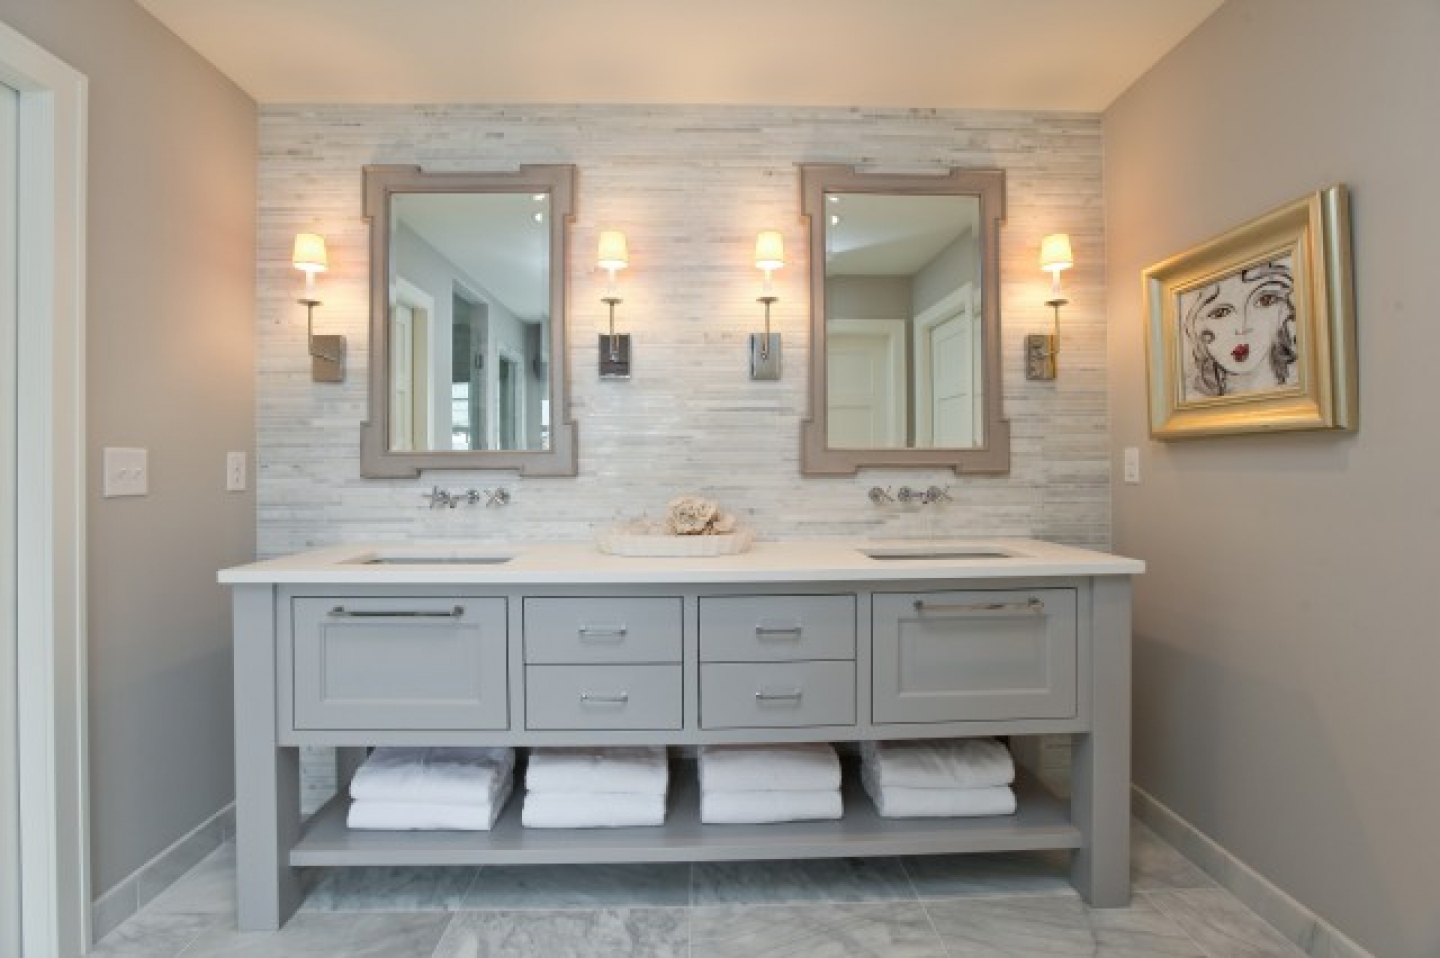
Homeowners, you have a pretty good option to change the look of your cabinets and bath space. And yes, you don’t need to invest a huge amount in installing newer boxes. You can just plan to paint them and give them an entirely new look.
The best part is that it is a weekend-only project. You can take this joyous task on any Sunday afternoon, and change those old, tedious cabinets into more glowing ones with a fresh, vibrant color. Painting your bath cabinets is a major undertaking, and thus planning and preparing in advance is important.
Below you will find the essential tips to make sure you get the job done right.
Step One: Gather Right Tools
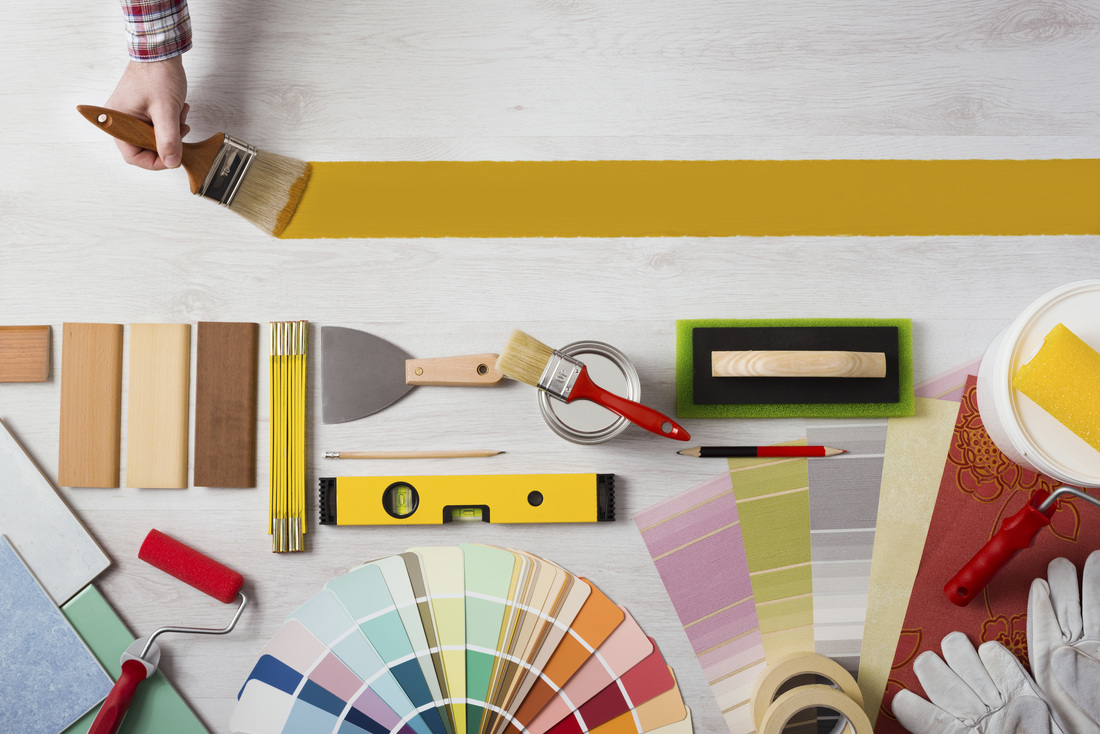
To carry out the process, you will require a number of tools. You can get them from any nearby hardware store. The list includes:
- 120- to 220-grit sandpaper
- Primer
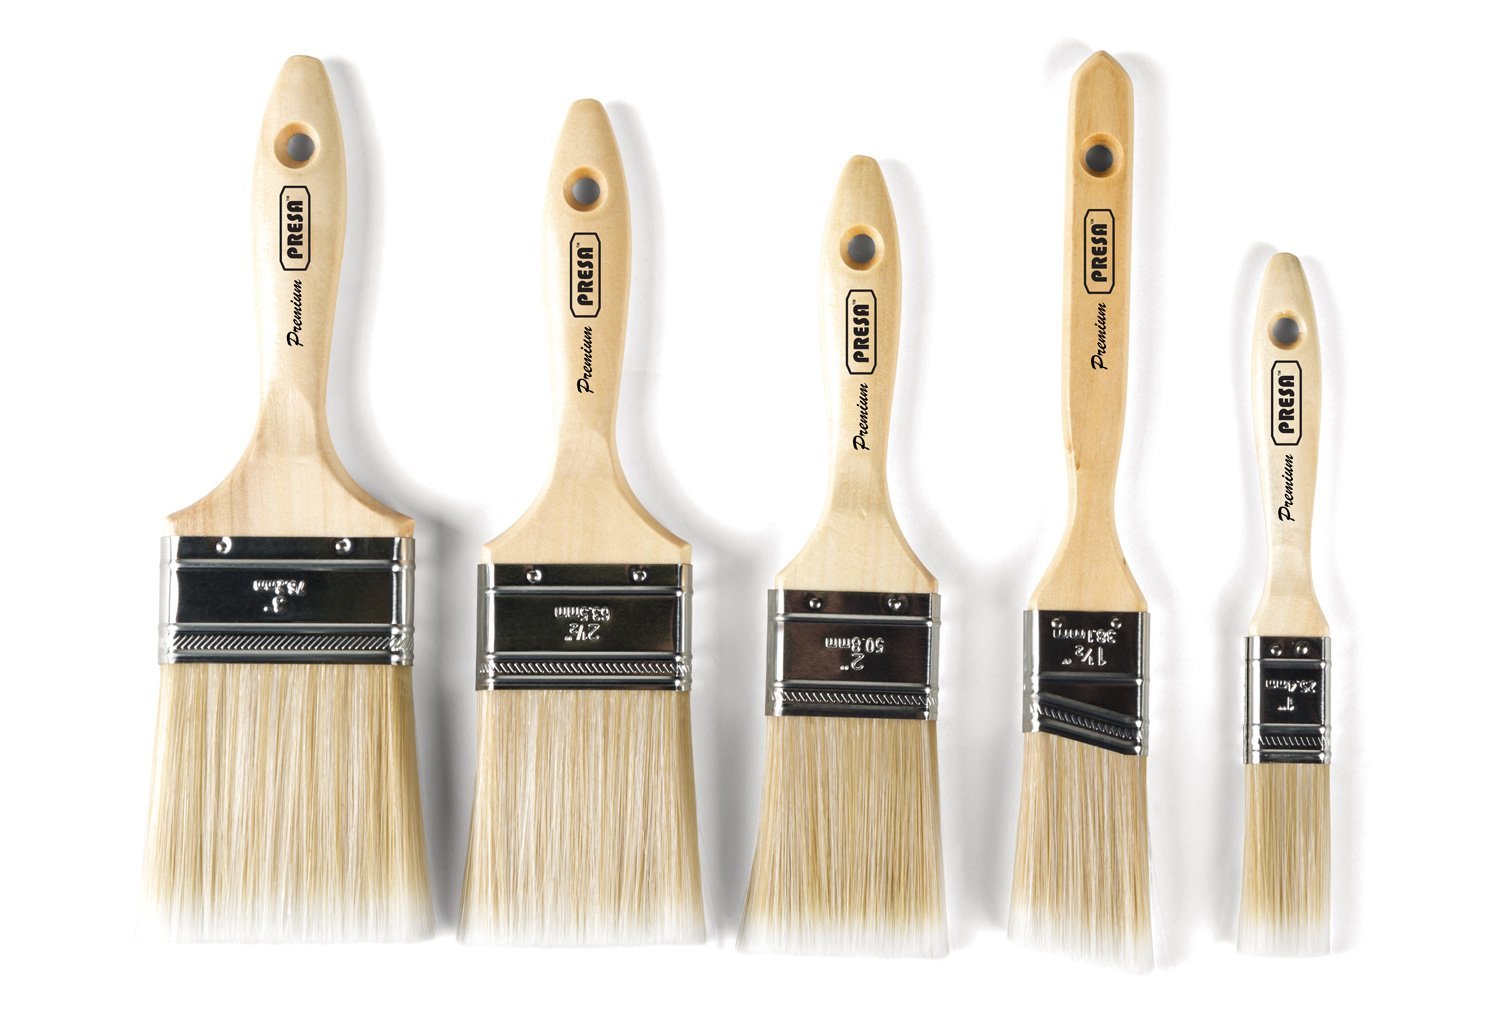
- Paintbrushes: 1.5-inch tapered and 2-inch-wide synthetic fiber brushes
- Microfiber paint rollers: 2-3 inches wide
- Paint
- Paint tray and stir sticks
- Deglosser
- Painters tape
- Masking tape
- Cordless drill or screwdriver
- Trisodium phosphate (TSP)
- Bucket
- Rubber gloves
- Protective goggles
- Sponge
- Putty knife
- Spackling compound or wood putty
- Drop cloths
Step Two: Cabinets Disassembling
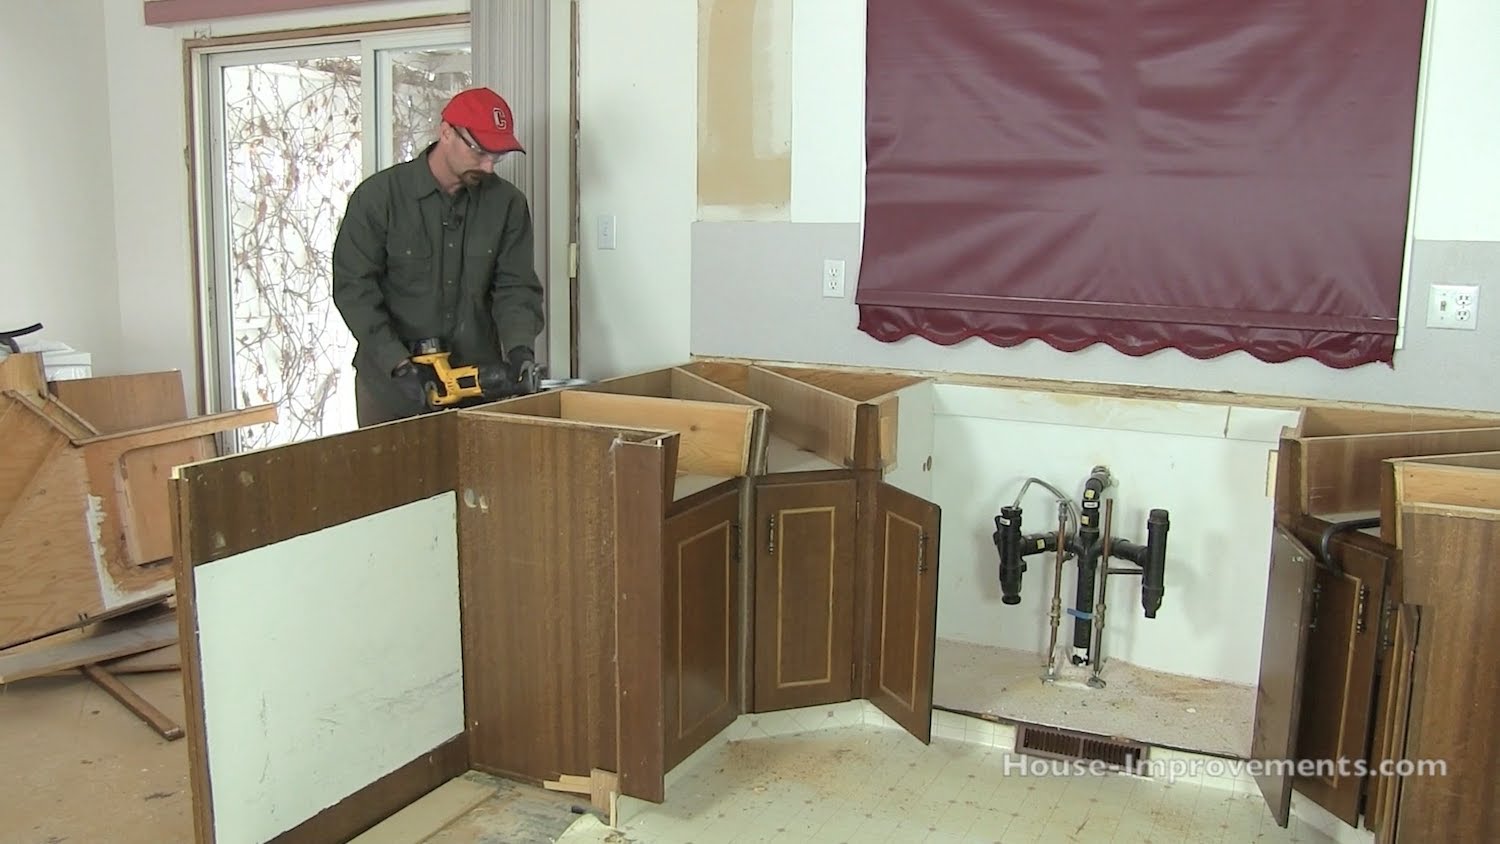
With the help of a cordless drill or screwdriver, remove all cabinet doors, drawers, and hardware. Simply pull out all adjustable shelves and when you remove hinges and hardware, make sure you wrap each piece and its screws in a piece of masking tape. It is best to label the tape with the hardware’s position so that you can return each piece to its proper place.
Be careful while placing all the taped hardware components, ensure that they don’t get lost in the shuffle.
Step Three: Prep the Surface
It is now time to clean the surfaces with a dirt and grease remover. You can add trisodium phosphate to a bucket of water, and sponge the mixture onto all surfaces. Gently rub away grime as you go. While you do this, wear protective goggles and rubber gloves.
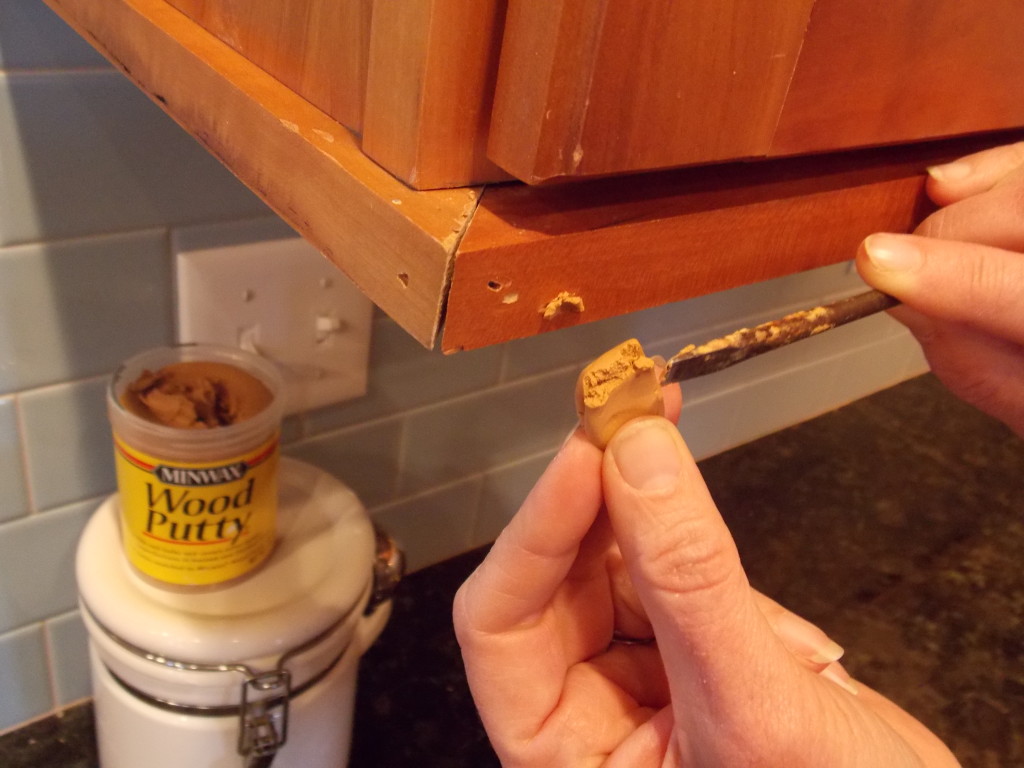
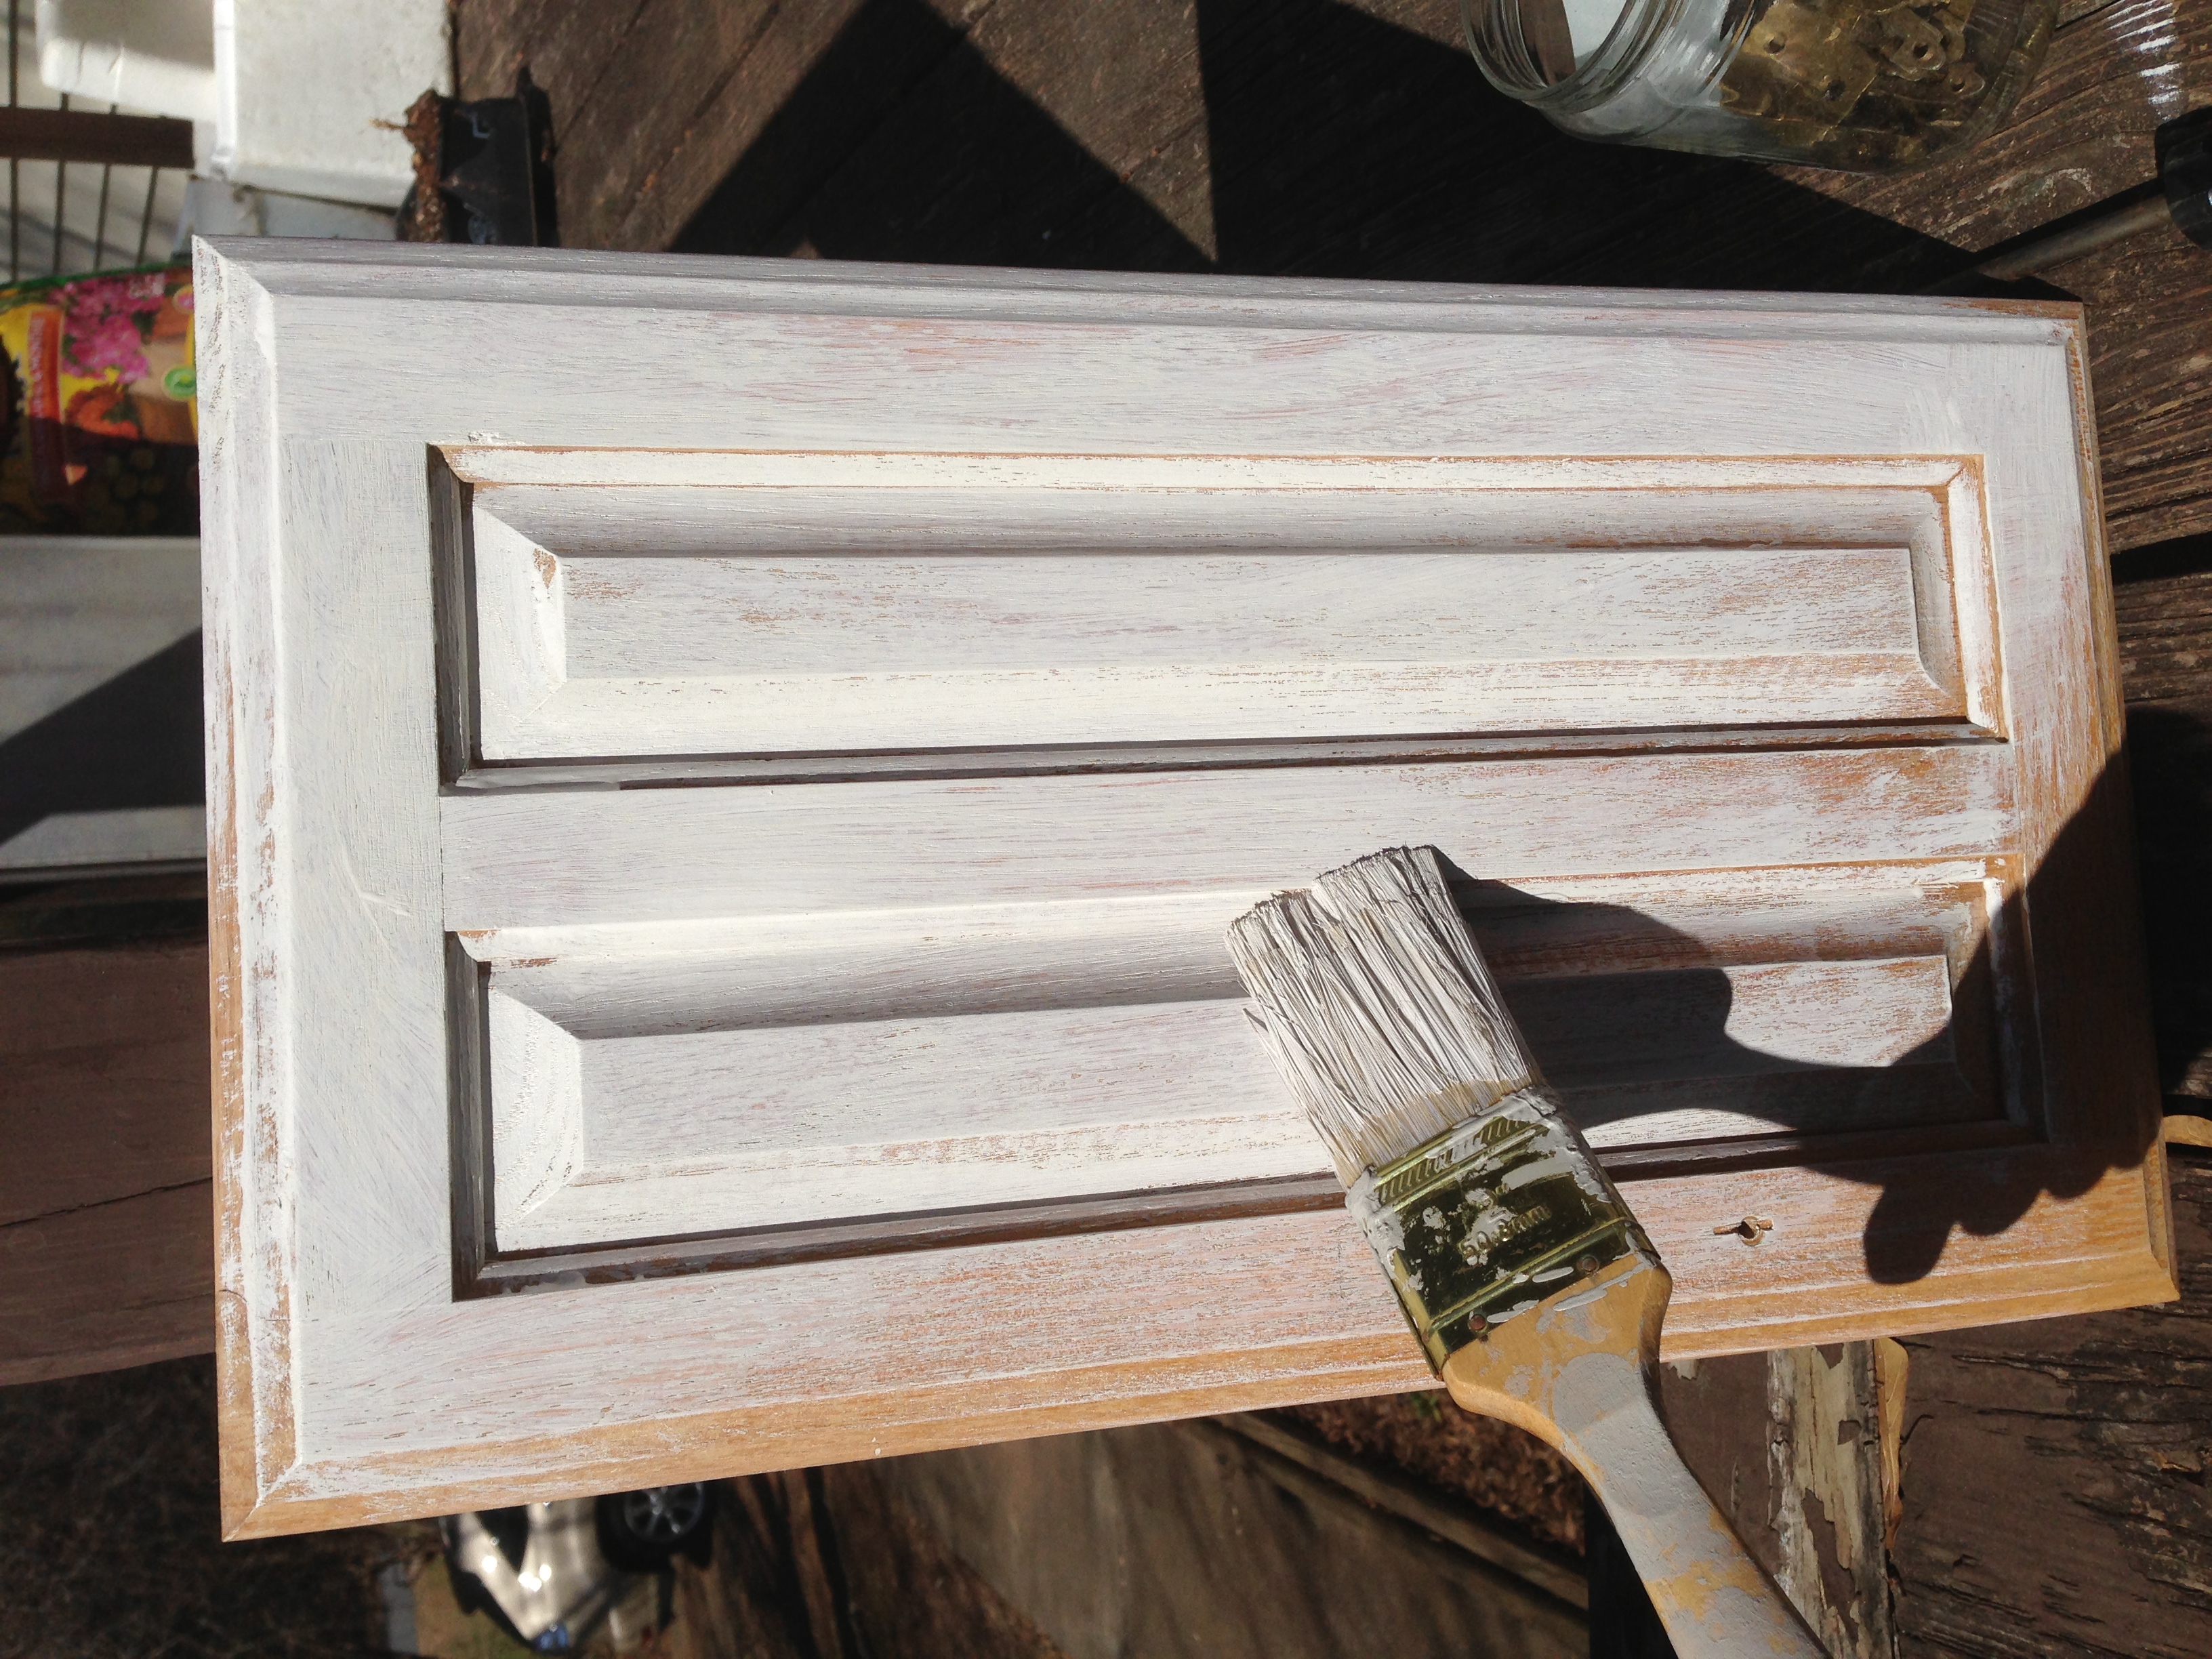
Use a putty knife and spackling compound or wood putty over clean and dry cabinets. Nicely fill any nicks or dents and allow it to dry. Later use 120- to 220-grit sandpaper to sand the surface and smooth imperfections. While you are sanding bathroom cabinets, do it in the same direction as the wood grain. This helps preventing scratches. Finally, with the help of a damp rag remove all dust after sanding.
With the help of painters tape, protect walls, floors, and backsplash tile. Place a drop cloth on the bathroom floor to catch paint spatters. Also, keep moist and dry rags handy to handle errant paint drips immediately.
Extra tip: If you find surfaces in good shape and no patching is required, use a liquid deglosser instead of sanding.
Step Four: Do a Trial Run
This is necessary to check whether the paint adheres smoothly to the cabinet surface or not. Simply prime and paint the back of a bathroom cabinet. Using the right type of brush, try to create smooth finishes. Choose a synthetic-bristle brushes for latex coverings, and natural-bristle brushes for applying oil-base products.
Step Five: Prime and Paint Bathroom Cabinets
To apply primer to the faces of cabinet boxes you can use a roller or paintbrush. Work on all the drawer fronts, cabinet frames, and both sides of cabinet doors. With this, set cabinet doors atop like-size bricks and keep it off the work surface. Be patient and let primer coat dry.
Next load a roller or brush with paint, and begin with the painting process. You can start with bathroom cabinet doors and paint it with multiple thin. Just be sure that each coat dries out naturally before adding the next. You can then move to painting cabinet boxes and framework.
Before you start painting drawer fronts, tape off drawer sides and glide hardware. Once the cabinet door fronts have dried, just flip them over to paint the back sides. Don’t be in a hush rush; let all the components dry thoroughly.
Step Six: Reassemble
Done with the painting? Great! But it’s not over yet. Gently remove all tape and drop cloths, followed by cleaning vanity tops, and dusting all bathroom surfaces. This is essential to create a clean slate for showcasing your work. Just reattach drawer pulls and hinges in the appropriate spots, slide in drawers, hang doors on the cabinetry boxes, and it’s done.
Just remember, painting your cabinets is a process that requires patience. So be ready to deal with a bit of chaos and disorder. And you can always consider help of an expert handyman service provider for guidance or help. Don’t hesitate in calling a professional!
0 Comments.