


Replacing your own home window is not that difficult. All you need is the right instruction and a few tools. Remember, it is not complicated if you are patient. Get started with the process here.
With skyrocketed energy costs, it has become common for homemakers to consider window replacement. Actually, windows happen to be the greatest single source of energy loss in the home. Therefore, replacing old windows serves to be an intelligent and powerful way to become more energy efficient.
Yes, it helps decreasing your monthly utility bills, and of course, it increases your home’s value. Besides, there are many other good reasons to replace your old windows. Here it’s worth noticing that when replacing a window, it is essential to remove the old one with care to prevent any severe damage.
Need help to ease the replacement process?
Here is a step-by-step instruction guide to show you the proper way to replace a window. Start reading:
Before You Start…
As you are going to install a new window, you need to know that it will only work when the replacement window is of the same size and shape. In order to determine whether your window opening is square or not, measure it diagonally one way. Repeat the process in the other direction and if the two measurements turn out be same, the opening is square.
Be careful, as the slightest deviation from square can keep the sash from closing and the weather stripping from sealing properly. This means, you will be stuck with drafts, high utility bills, and condensation.
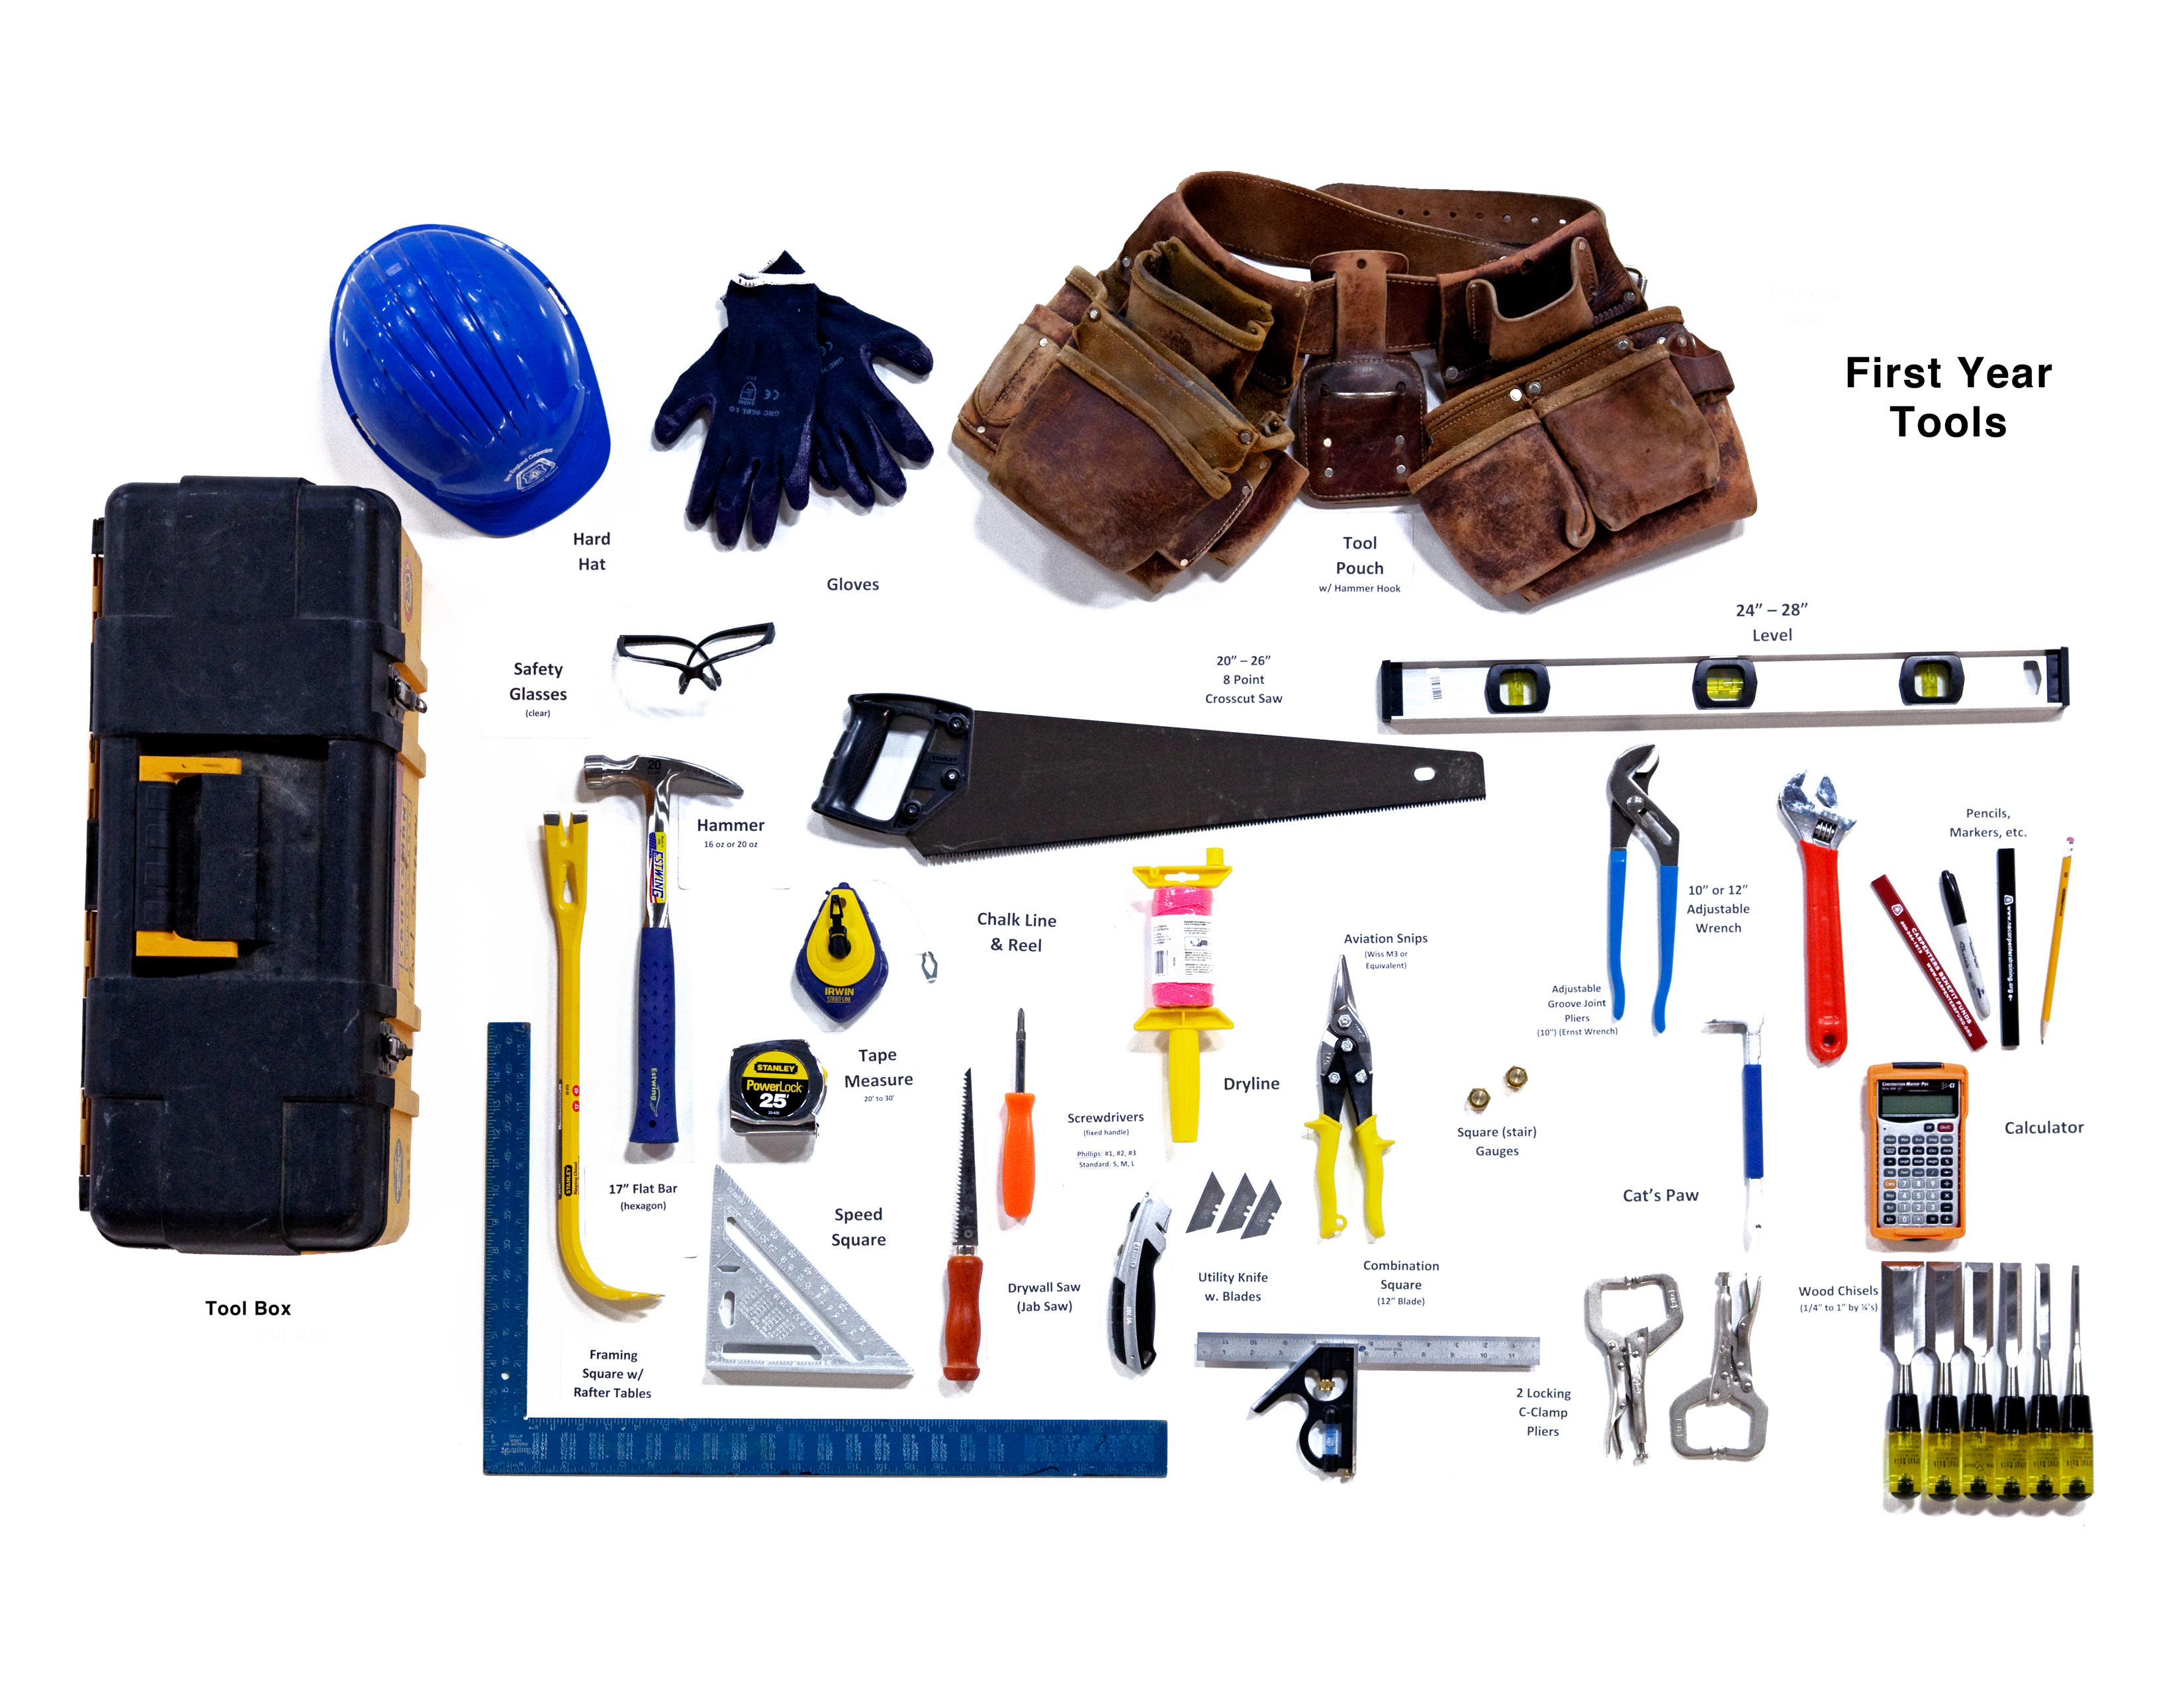
So now when you are all set to replace your window, ensure you have the right tools with you. Have a sneak peek at the list of things required:
- Hammer
- Level
- Sash replacement window
- Utility knife
- Pry bar
- Pliers
- Nails
- Caulking gun
- Caulk
- Paintbrush
- Paint
- Wood putty
Once you have collected these, follow the below given process.
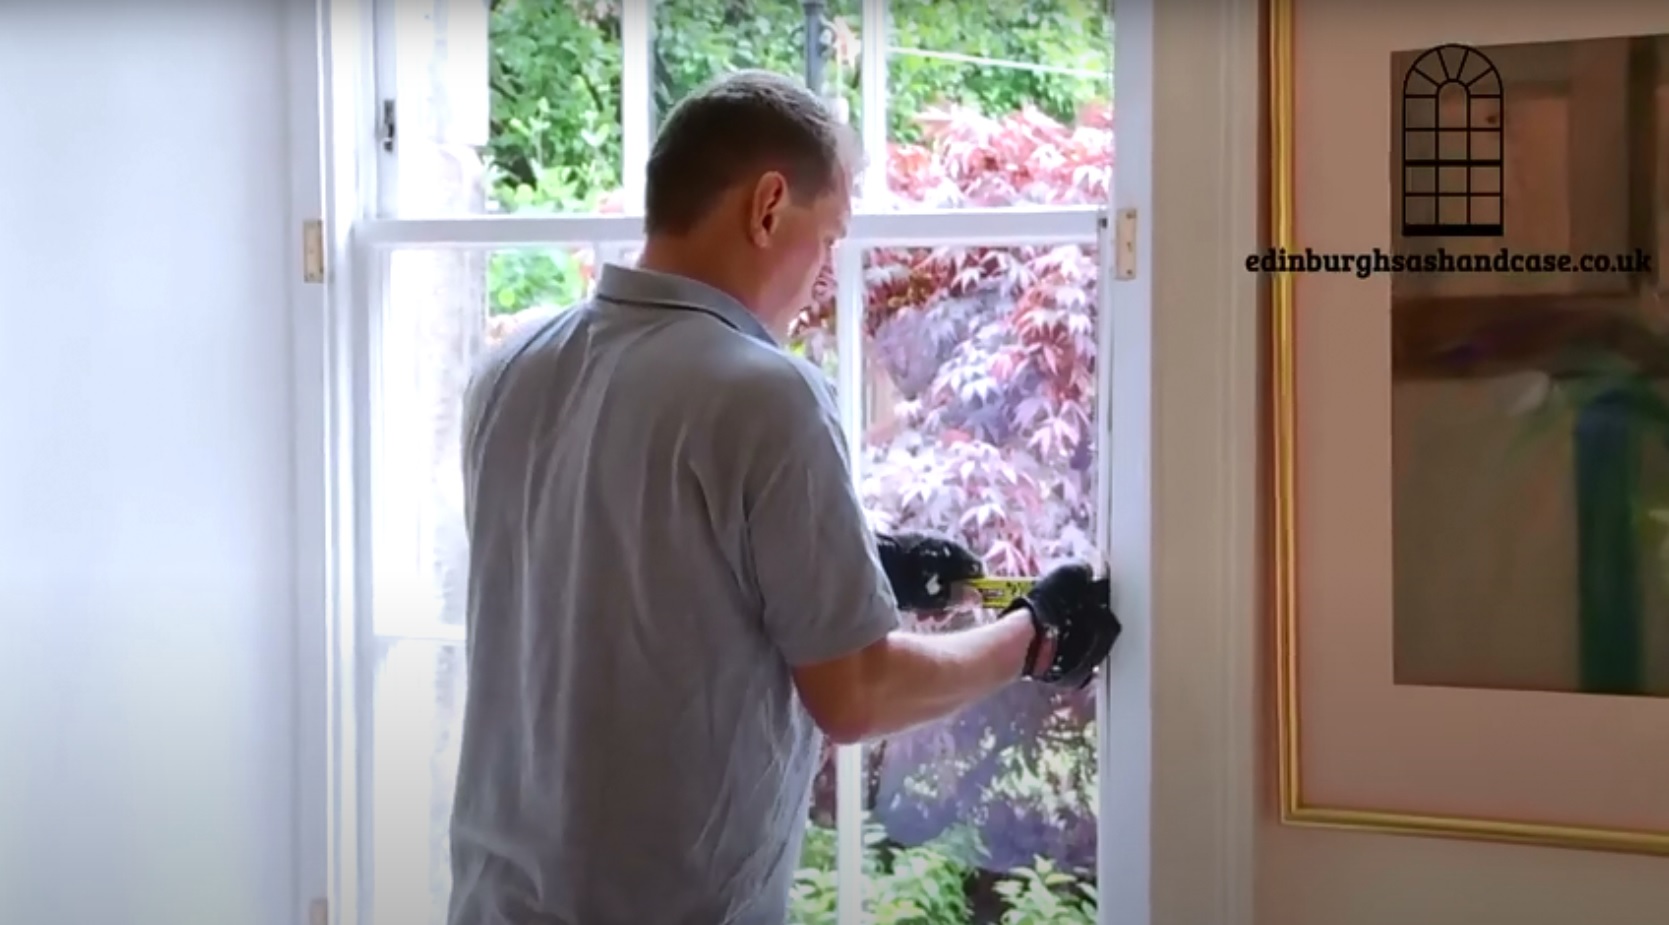
Step 1: Take Proper Measurements
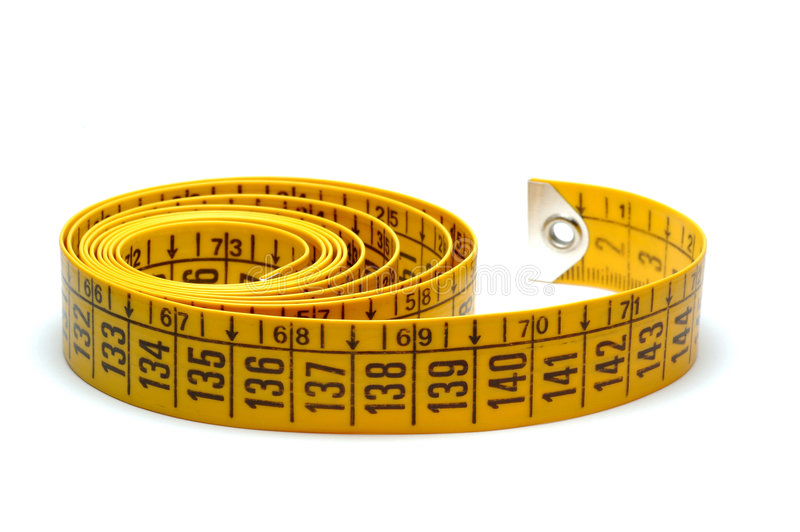
The key to successful replacement is in taking accurate measurements of the existing opening. So you need to find out how big your new window needs to be. For this, begin measuring between the left and right jambs at the top, middle, and bottom of the window. Usually, the shortest of these three measurements is the window width. Once you are done with this, measure the distance between the head jamb and sill at the far right, middle, and left side of the window. In this case, the shortest one will be the window height.
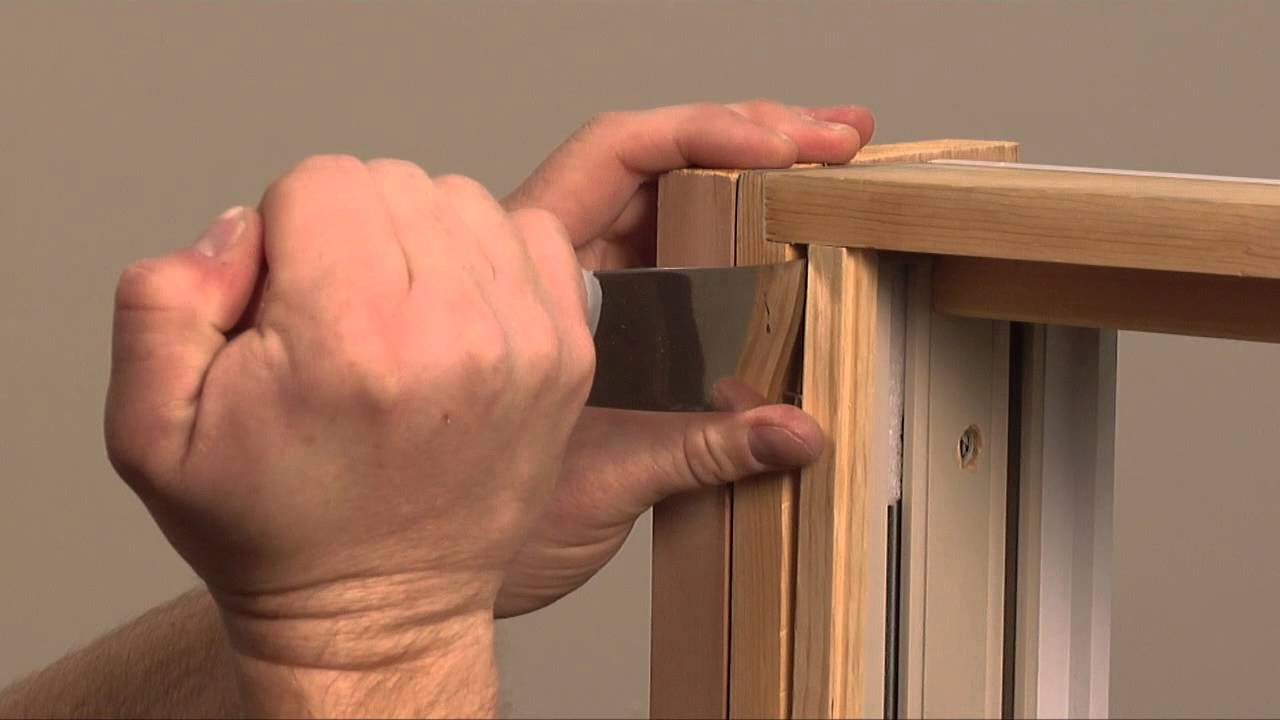
Step 2: Take Out Trim and Head Stop
You now have to score the paint where each piece of trim meets. As scoring the seams will prevent the wood from splitting when you remove the trim pieces. Gradually, slide a flat pry bar behind and remove the pieces.
Next, score head stop and gently pull it loose with pliers. Set aside for later use. In case, you want to remove the surrounding trim, you can proceed with a utility knife. Slicing through any paint or caulk, do it carefully between the interior casing and the wall. Later, with a flat pry bar and a scrap piece of wood, remove the casing. To reuse the casing make sure you use slip-joint pliers to remove the screws.
Step 3: Remove Jamb Liner
Now raise the lower sash 6 to 8 inches. Pry back the old jamb liner and repeat with the upper sash. At a 90-degree angle underneath the sash, fold the jamb liner. You must repeat the same with the upper sash.
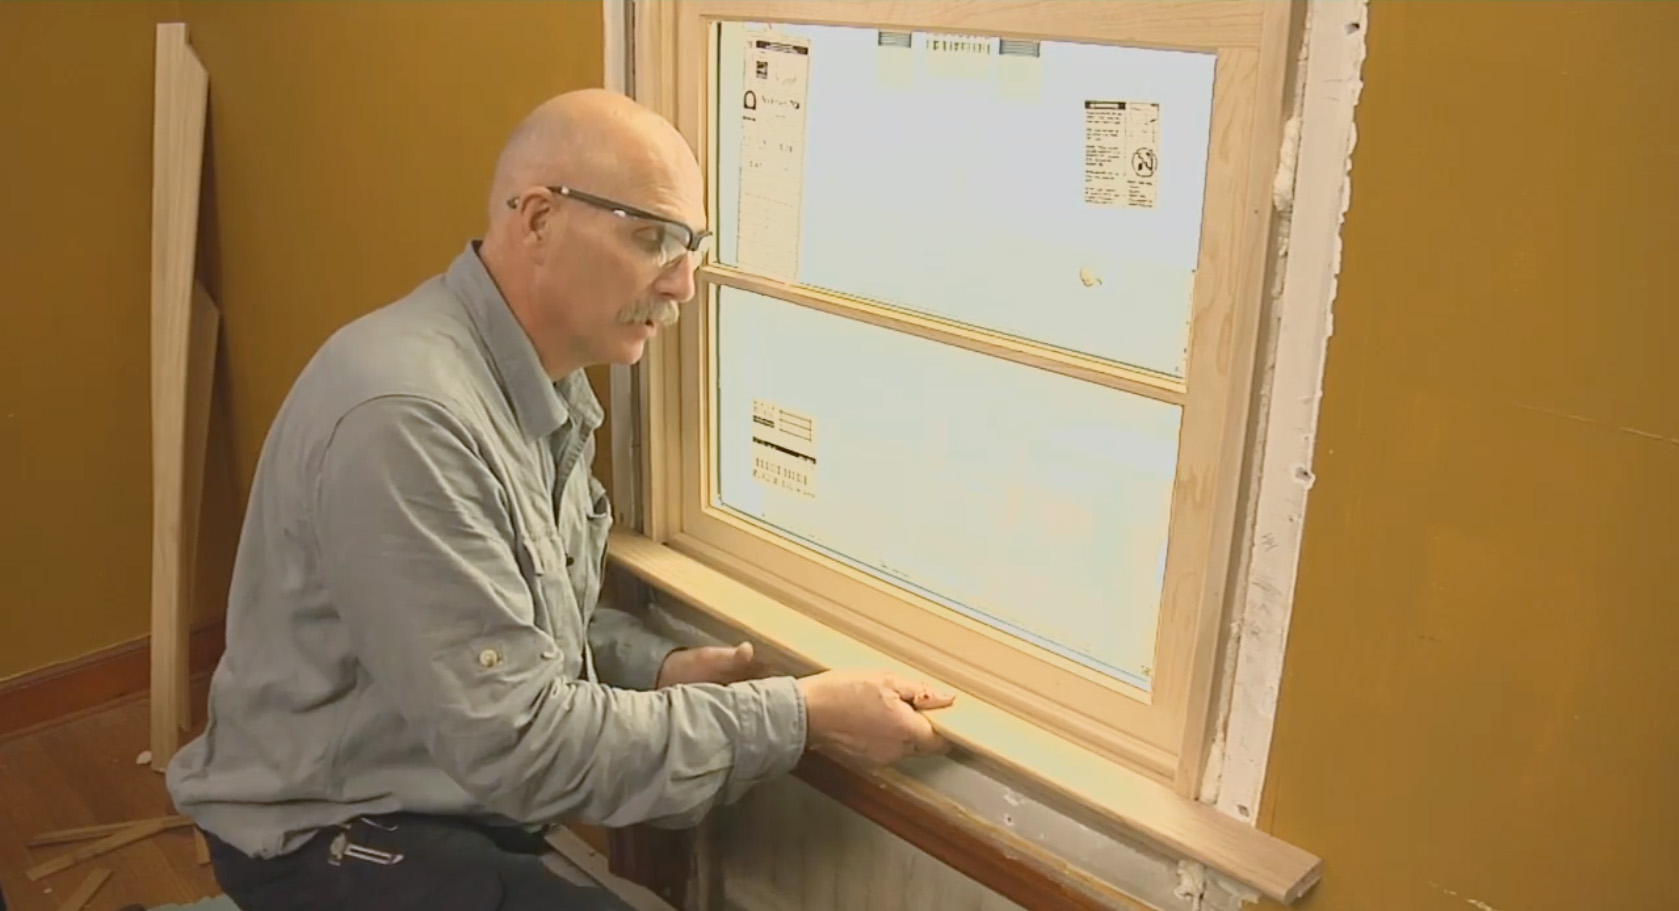
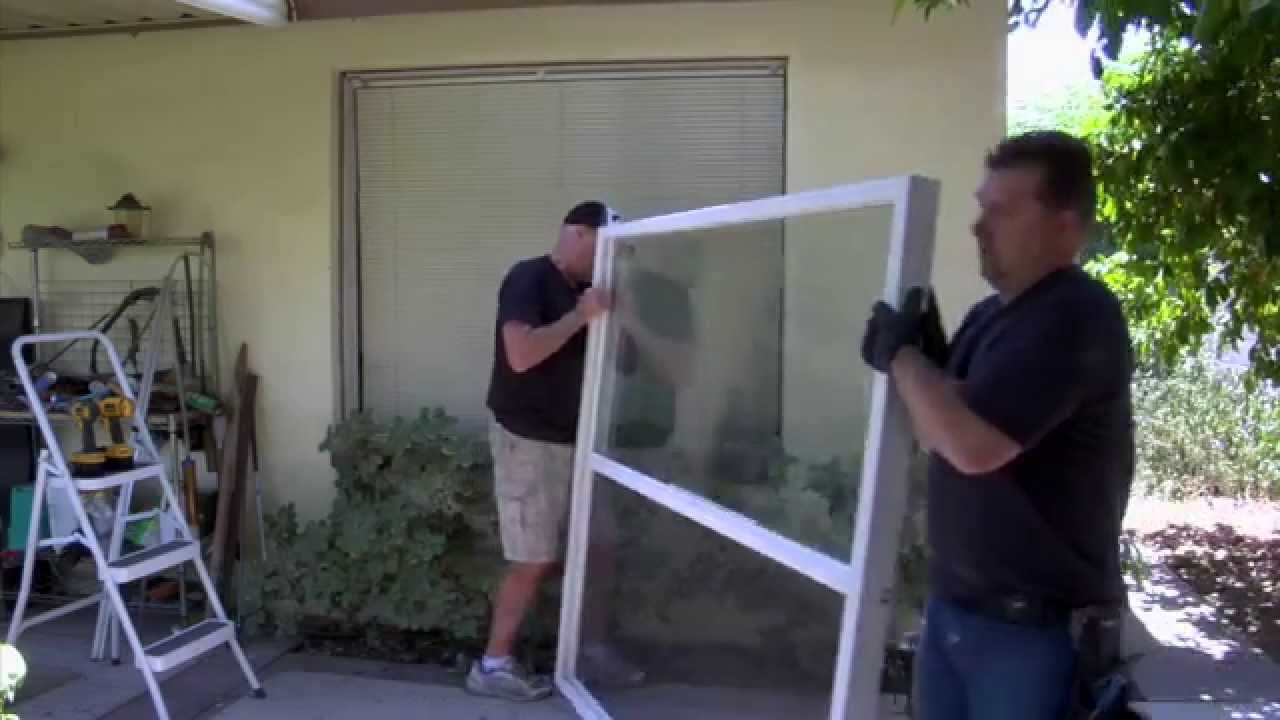
Step 4: Remove Window

The old sashes and jamb liner has to be removed as a single unit. For this, you will need a helper for assistance if you are working with larger windows. Basically, a helper standing outside will catch the window, and you can start prying outward. Tap the jambs with a hammer and once the window is loose, go outside to help pull it out. Make sure you use proper lifting techniques to avoid back injuries.
Step 5: Place In New Jamb Liner
At every 4 to 5 inches, install a liner bracket. Before you nail it, make sure each bracket is leveled. This has to be followed by attaching of the jamb liners to the liner brackets.
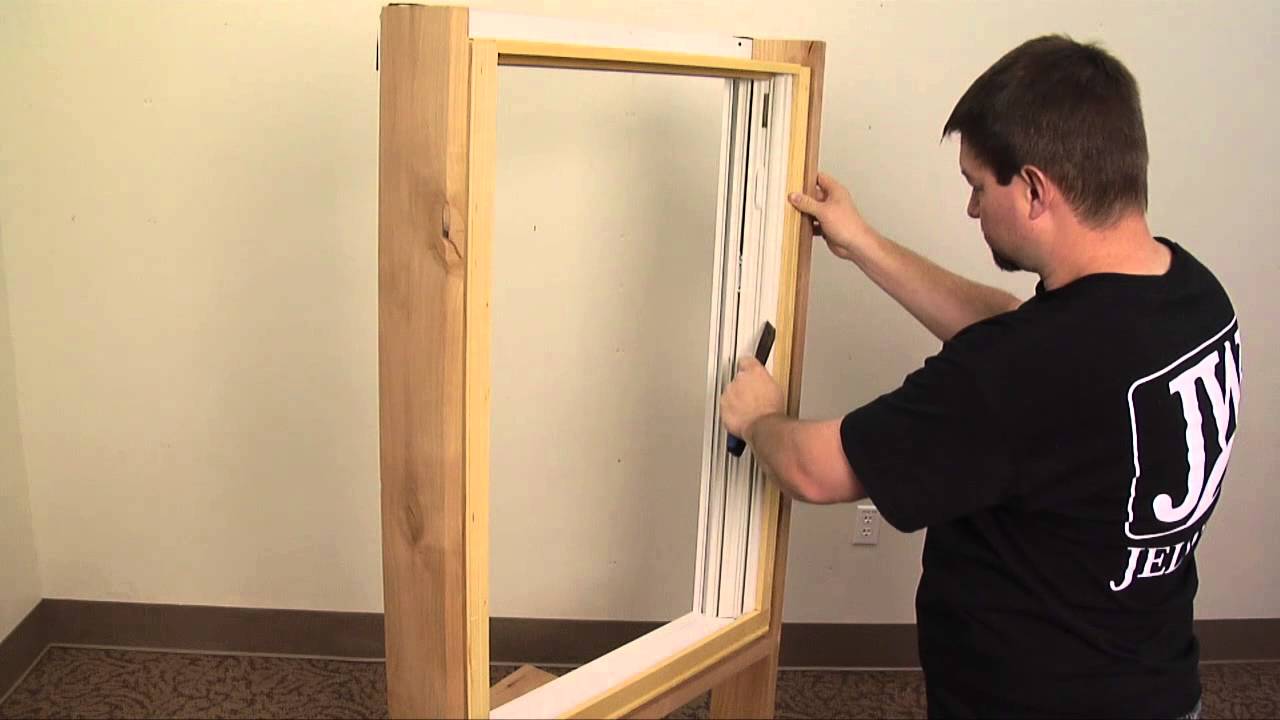
Step 6: Install Sashes
After this, insert the upper sash in the exterior track. To make sure it slides smoothly, open and close the sash. Later, insert the lower sash in the interior track.
Step 7: Install Head and Side Stops
Lastly, reattach the head stop and set the nails below the wood surface. Use wood putty to fill the holes and give a touch up with paint. Similarly, reattach the inside stops, set the nails, and fill the holes.
Try it and replace your windows. And in case, you seem to be in a fix, don’t hesitate to call up a local handyman service provider.
0 Comments.