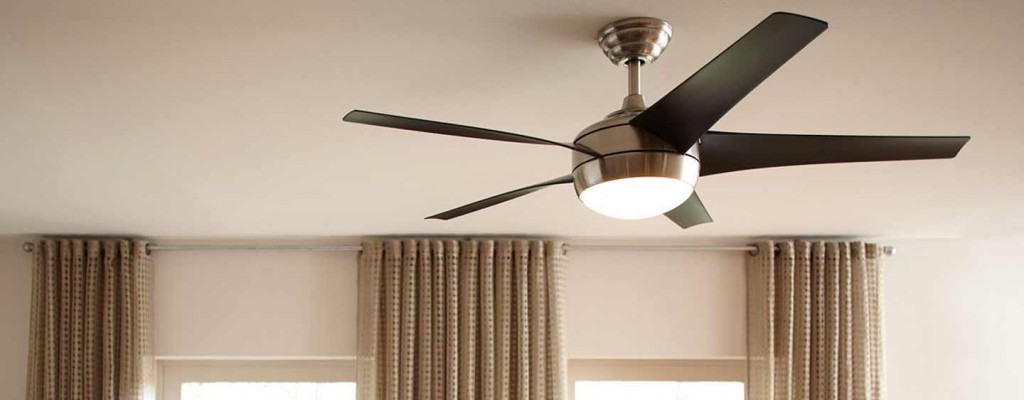
Your fan is troubling you and you are getting lackadaisical to replace it, thinking it will be a cumbersome task? In reality, installing a new ceiling fan is not a hard nut to crack and is the wisest decision you will take this weekend to reduce your energy bills and adding some comfort to your lifestyle. Good news is that you do not have to be a home improvement specialist to install a ceiling fan. You can easily replace your old ceiling fan with a new one by following the steps mentioned in the article.
Precautions to follow before installation of Ceiling Fan…
Before going ahead with how to install a ceiling fan, it is important to follow the few precautions for safe and successful installation of the ceiling fan. The precautions that you must take before installation stands on a pillar of 5 elements: SAFER.
· S- Shut down the power at the circuit breaker box before beginning.
· A- Assure that there is no obstruction at the installation site.
· F- Favor a UL-Listed outlet box marked “Acceptable for Fan Support”.
· E- Ensure that the electrical connections comply with local codes, ordinances, or National Electric Codes.
· R- Read the manufacturer’s instructions for caution, safety, and warning information.
Tools required for installing a Ceiling Fan…
· Adjustable Wrench
· Screwdrivers
· Dusk Mask
· Pliers
· Electrician’s Tape
· Cordless
· Drill with Long Bit
· Voltage Tester
· Wire Cutters
· A small Ladder
· Safety Glasses
Ideal place to hang a Ceiling Fan…
· For optimal airflow of the ceiling fans, make sure it is hung at least 8-9 feet above the floor.
· The blades of ceiling fan must hang at least 8-10 inches below the ceiling.
· The blades must be at least 18 inches away from wall, doors, cabinet, or posts.
· Make sure there are no cracks in the surrounding area where the fan is to be installed.
How to install a Ceiling Fan…
· Remove the Existing Light Fixture
After making sure that electricity to the circuit is turned off, carefully remove the glass shade from the old light fixture.
Unscrew the nuts that hold the fixture to the ceiling. Then, lower the fixture to disconnect all the wires by twisting off the plastic connectors from the ends of the wires.
· Cut a new hole after removing the box
Carefully remove the old electrical box from the ceiling. If it is suspended from a bar, you may have to take off a metal plate to unscrew the box; then pry the bar from the joists.
Against the ceiling, make a trace around it using a pencil. Then cut along the line using a drywall saw.
· Fix New Electrical Box
A cable connector will be attached to the knockout hole. Feed the electrical cable coming from the ceiling through knockout hole.
Through the ceiling, set the box into the hole cut and press it tight against the joist. Attach the box to the joist by tightening the screws. The bare copper wire of the cable should be wrapped around the grounding screw inside the box.
Allow the wire end to hang down.
· Put Glue on the Ceiling Medallion
At the back of the ceiling medallion, apply some glue. Then allow the wires to pass through the medallion. Center the medallion on the box and then press it. Fasten it with nails driven into the joist. Set the nail heads and fill with caulk.
· Mount the Ceiling Plate
Simultaneously hold the fan’s metal ceiling plate up to the pancake box and pull the wires through the hole. Then attach the ceiling plate to the box with screws.
· Correctly assemble Fan Components
The wires that are coming from the motor should be fed to the fan. Set the canopy on the top of the motor and let the wires pass through the hollow down-rod pipe. Use an adjustable wrench to tighten the square-head locking screw on the side of the pipe.
· Make proper wire connections
It is an important part of the process because if you make wrong connections, you may end up damaging the motor of the fan.
Join the two green wires to the copper wire coming out from the cable. In case you are uncomfortable with connections, don’t try it yourself; go ahead with handyman services in NYC.
After joining two green wires, it’s time to join the two white wires followed by connection of two black wires.
Now, Swing the fan up into position against the medallion and tighten it with screws.
· Attach the Blades and Lights
After attaching each blade to the blade iron, tighten the blade iron to the motor with the screws provided. Light-fixture of the fan should be plugged into the wire hanging from fan’s motor. Then, install the shades and light bulbs.
Your time and money is a most precious commodity and to save them both, you can trust HAYS NYC to fix little things in the house or apartment. HAYS NYC deals in fixing little things like electric sockets of your bedroom to large projects like the renovation of your kitchen. So if you are looking for a handyman in NYC, you can trust on HAYS NYC as they have experience in providing 24*7 quality handyman services in NYC.


0 Comments.