


Need to add more luxury, texture, and style to your room?
Whether it is about your bedroom, dining room, or living room, there is a way out to revamp your space. It is possible with the help of wallpaper. This art of papering a space is not new. And yes, it is making a comeback. Resurging from the moment where it was once banished for being too flowery, and grossly overused, it is back with a bang.
The emphasis of modern designs and sophisticated patterns led to this new era of decorating walls. However, wallpaper hanging can be a frustrating affair. You need to prepare a little more in advance. Though there are several different techniques for completing a project, there is something common in them. Here we have shared some of the essential steps to hang wallpaper.
Step#1: Prepare your wall
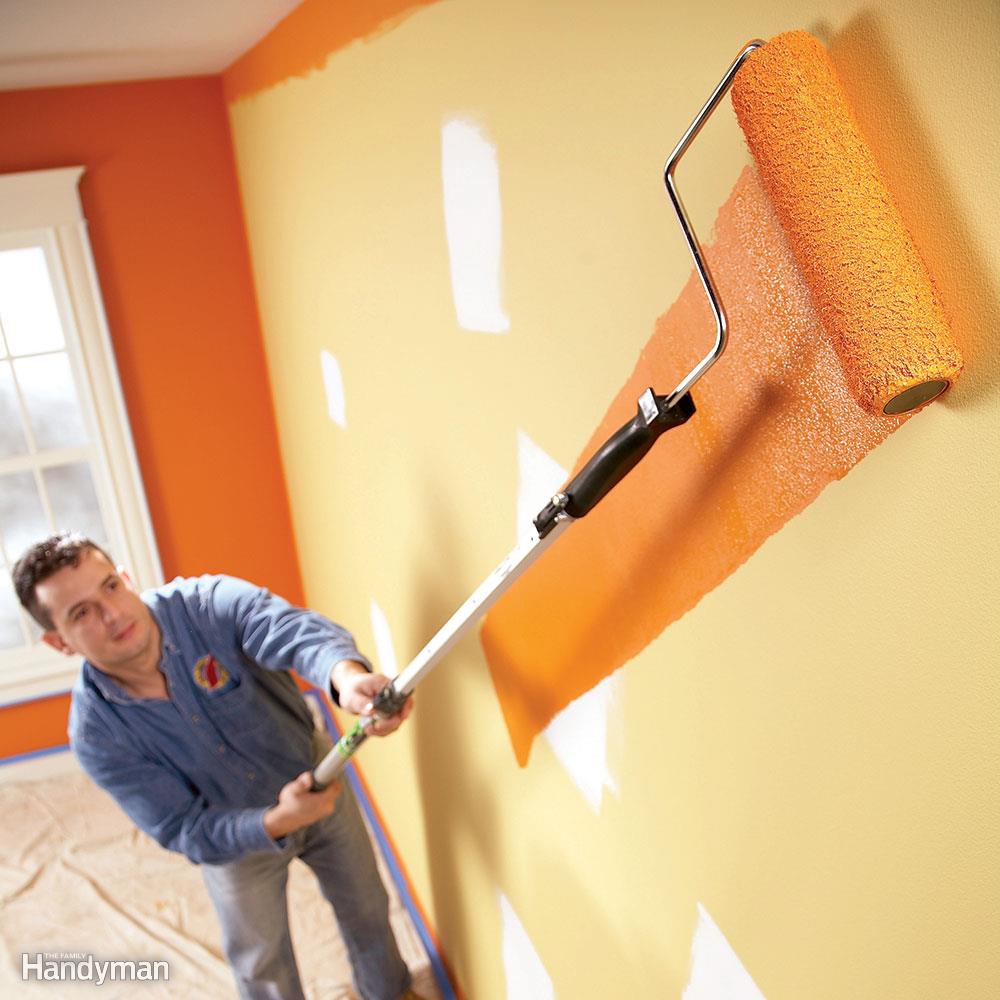
There are good chances that there is a hole or nick in the wall. Generally, people use new wallpaper to cover up the same. Don’t do it directly to the old wall as you might not get the desired results. To make it perfect, be sure to plaster any holes in the wall. Doing so, you will be able to make your wallpaper to stick easier, the reason being there is much more surface for your paper to hang.
Besides covering up any and all nicks and holes, also ensure to sand the wall to make sure no small protrusions stick through. Else it might rip your paper. And before you start, make sure your wall is dry. If there are any wet spots, it can be problematic as the wallpaper might not stick efficiently.
Step#2: Proper measurements
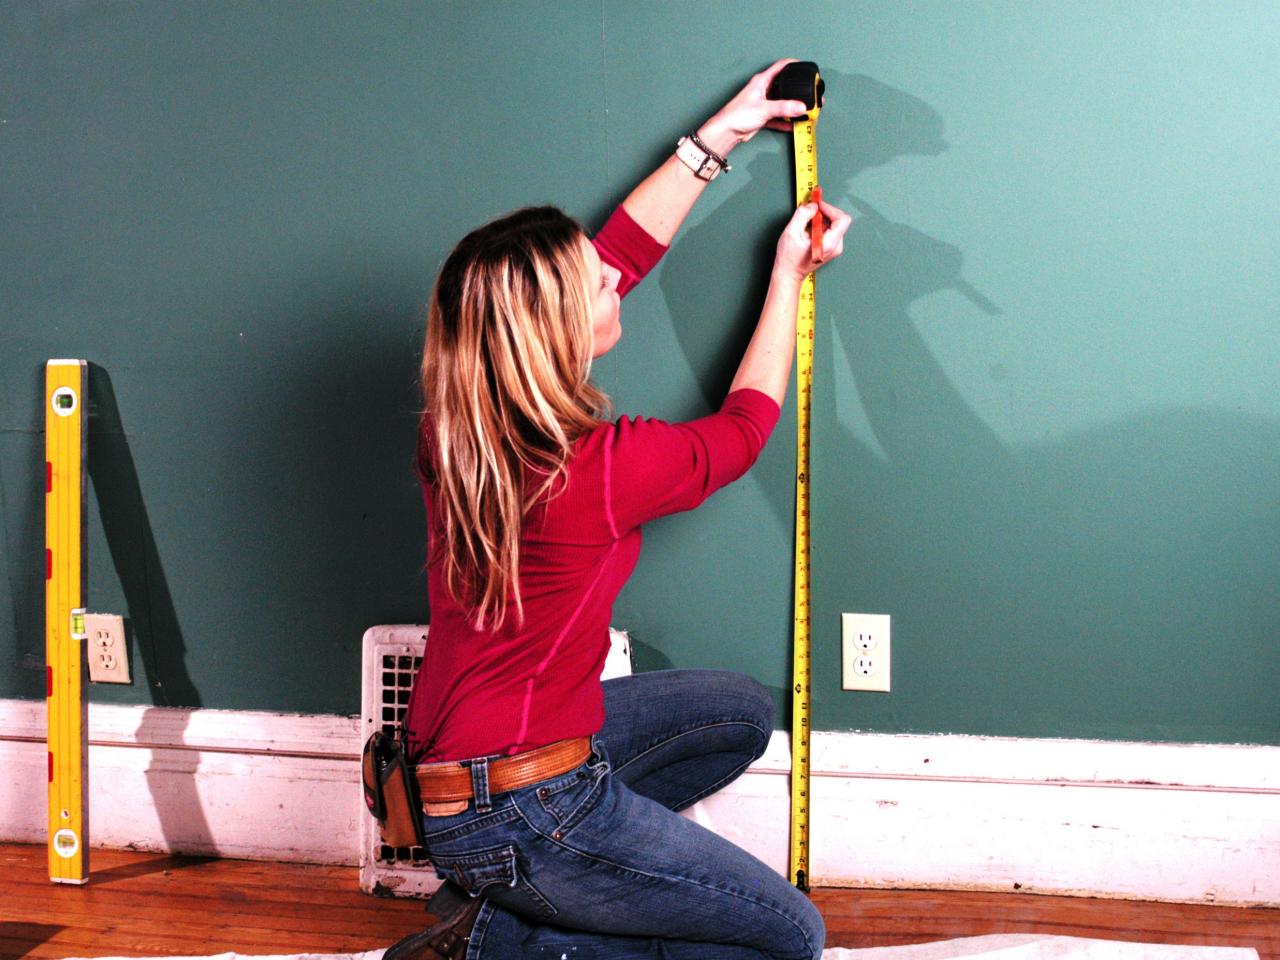
When you measure the length of the wall, leave 2-3 inches on the top and the bottom of the wallpaper.
It is necessary to keep some breathing room. Rounding your measurements gives you some extra paper to work with. Make sure you order two to four more rolls of paper for waste. If it is your first time, mistakes will happen. Stores might discontinue a certain style, and later it will be difficult to find similar stuff. Once you’ve measured the wall and paper, cut it out to the right size and do a quick test of the paper on the wall. Do it without any paste or water.
Step#3: Applying Adhesive
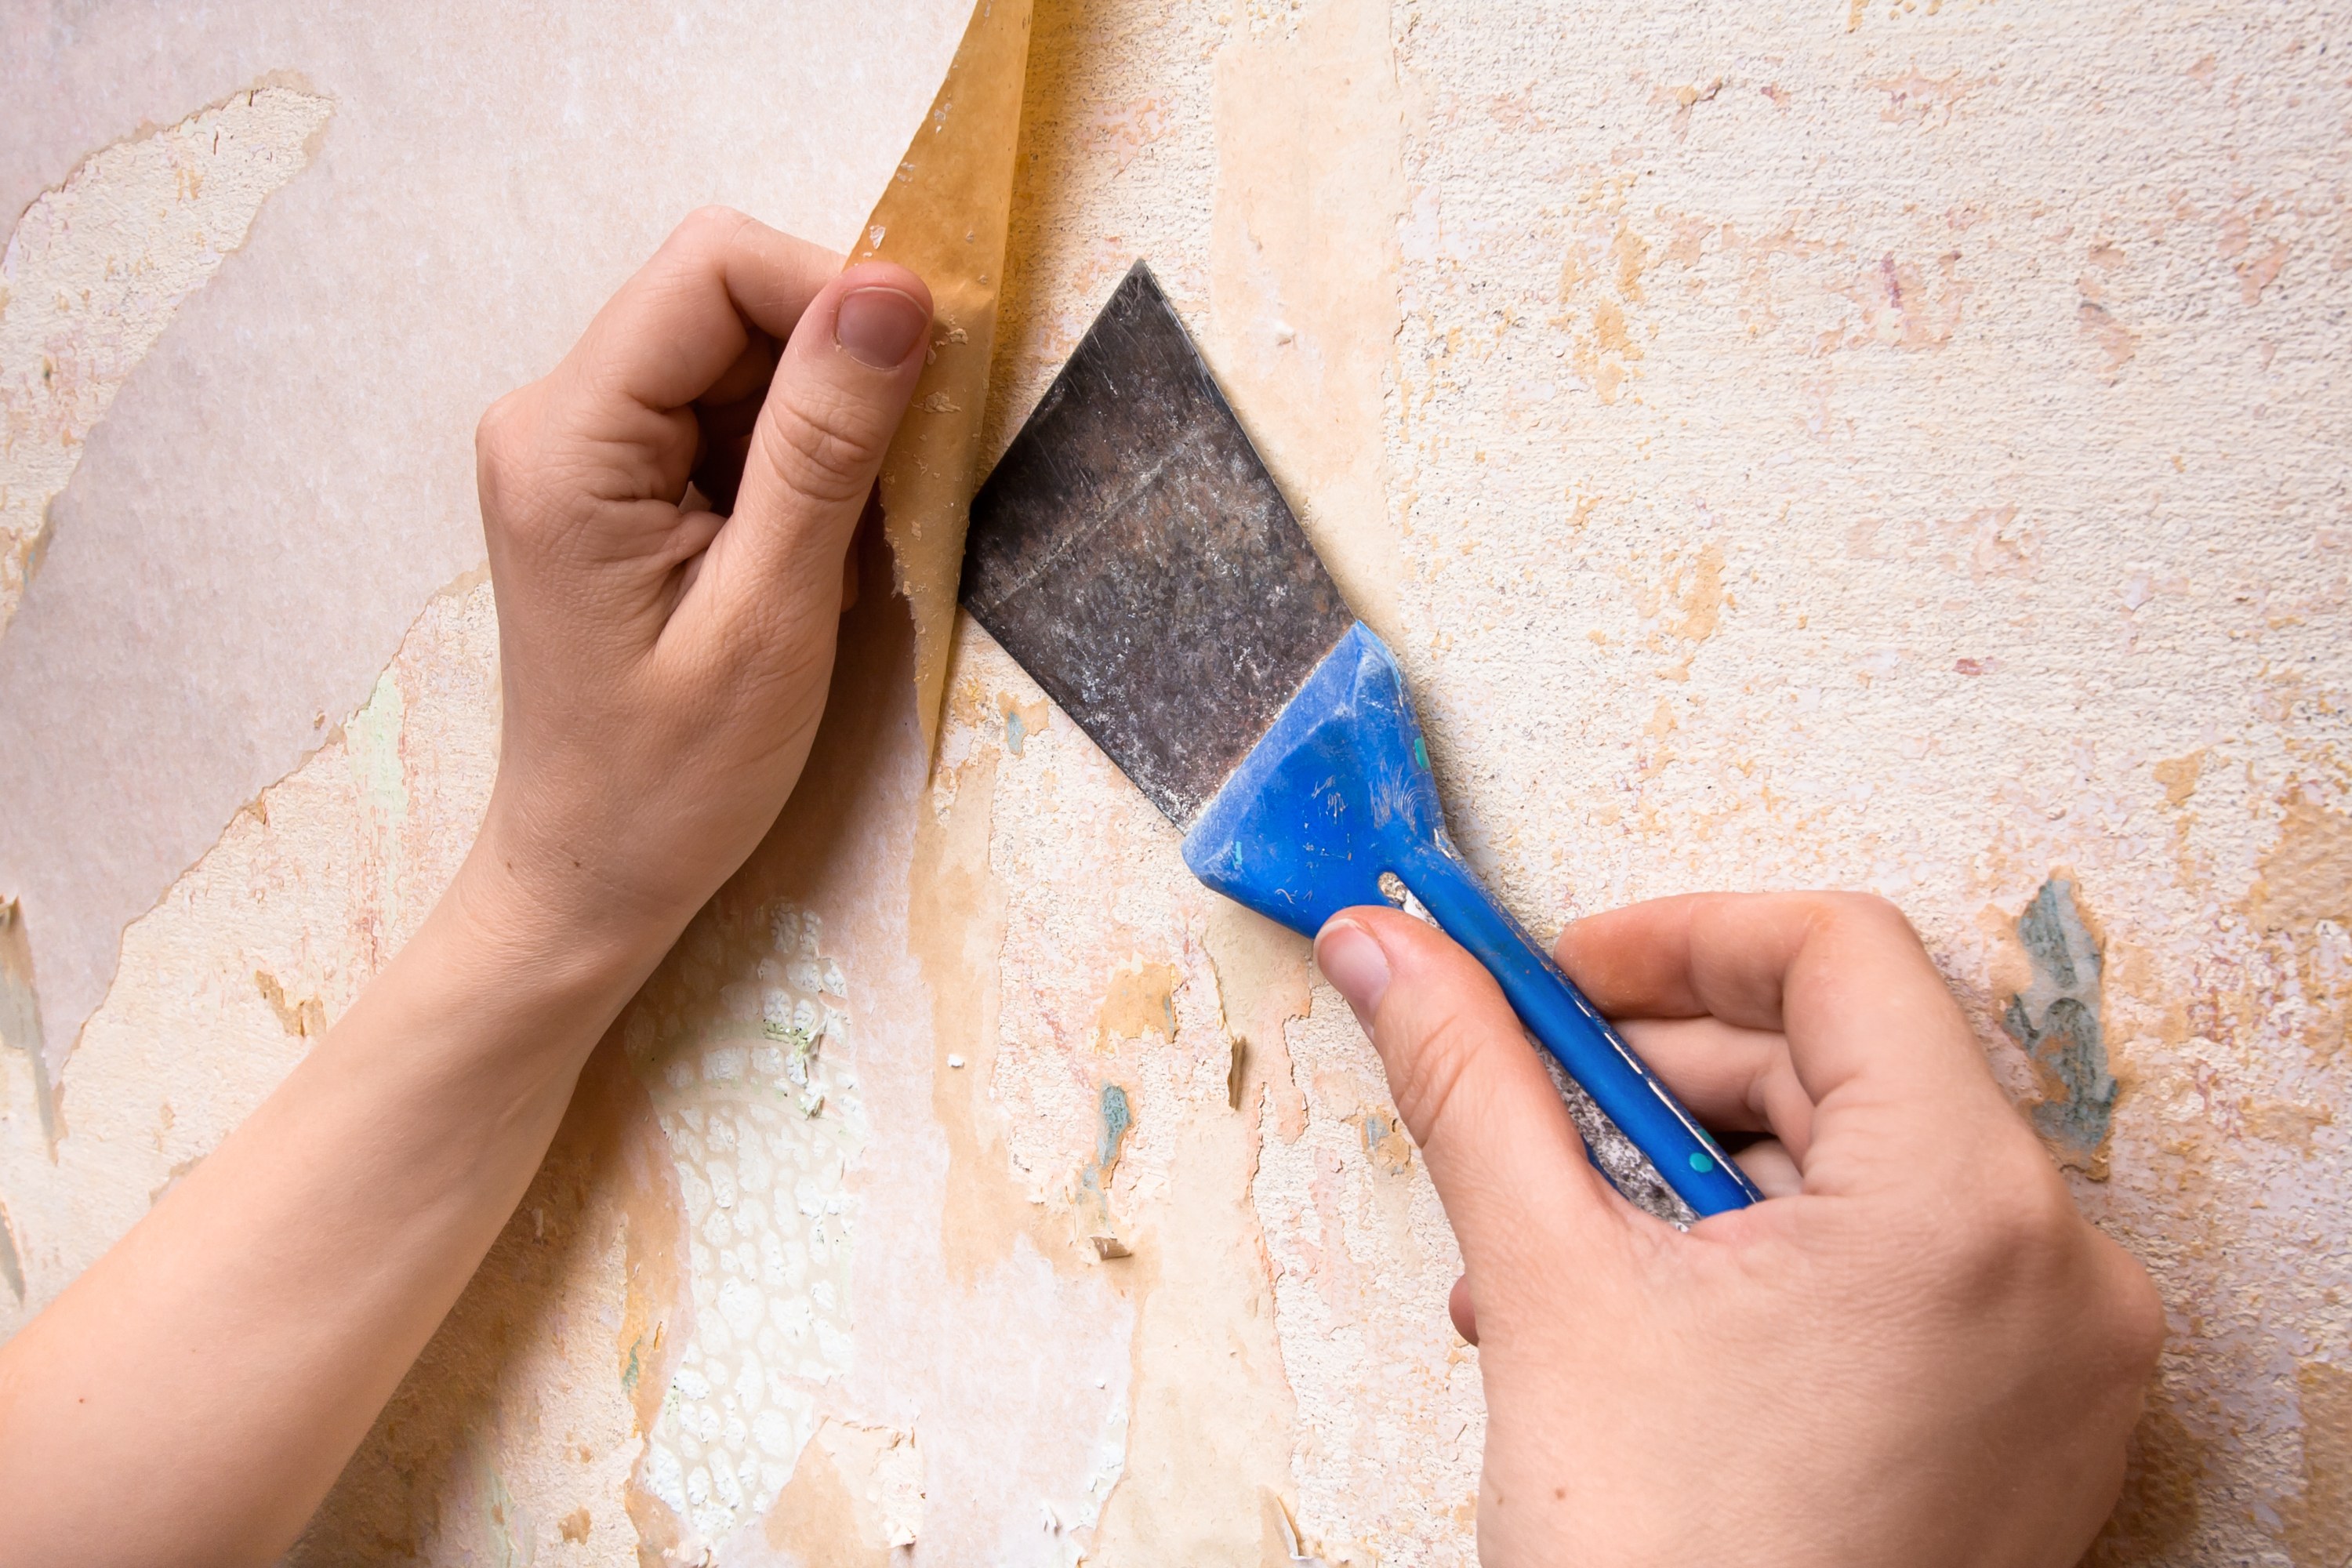
Now it the right time to apply the adhesive. It is where you need to read about the selected wallpaper in detail. Basically, there are two categories of paper, the first one where you have to use an adhesive and the second where the wallpaper comes in the pre-pasted form.
For the former one, before you apply any adhesive to the wallpaper, fold the paper back over the opposite way to work smoothly. But if you are using pre-pasted wallpaper, keep some lukewarm handy. When you work with cold water, the adhesive won’t mix properly. Hence, you will be left with damp paper.
Step#4: Hanging the Wallpaper
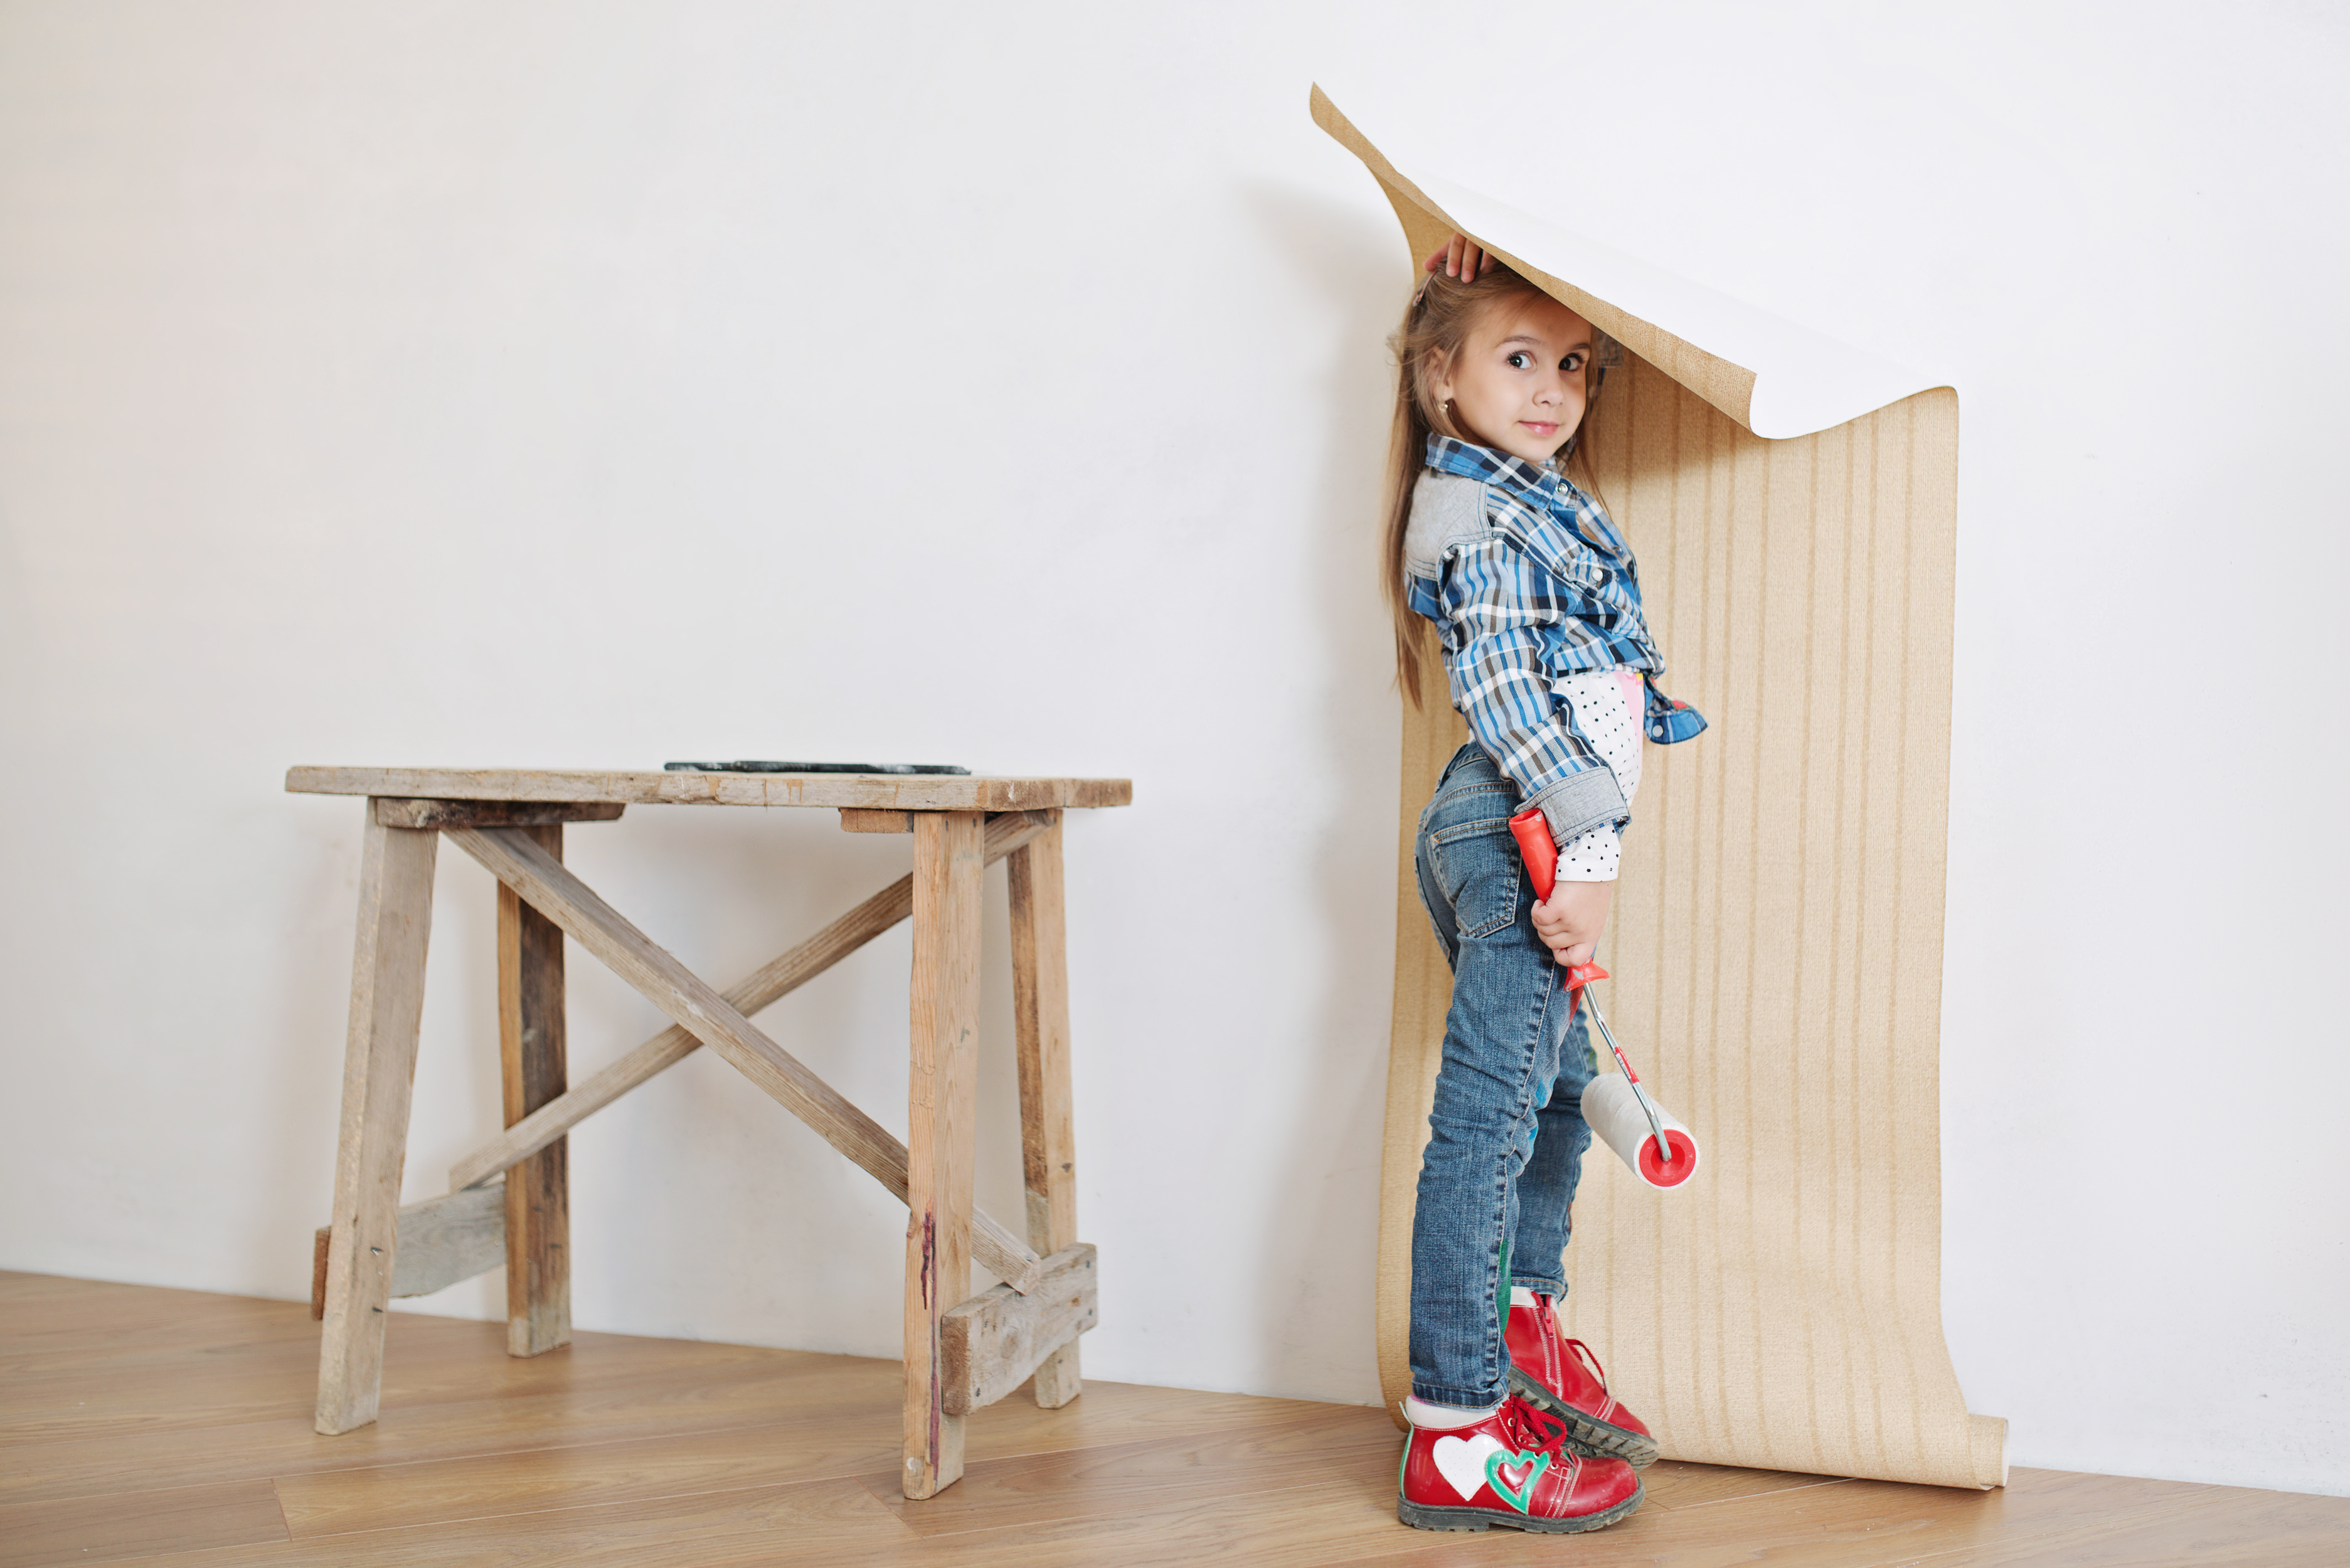
Coming to the application of paper, start from the top. Do include the 2-3 inch overhang, and push outwards from the middle to the sides. Move gradually all the way down to the bottom and be sure to use a slider. It is helpful in pushing out air bubbles. In the end, use a damp sponge at the bottom, top, and side edges of a wall. This crucial to make sure everything sticks properly.
Remember, before beginning any decorating project, a good level of preparation is required. Start with these tips to maximize time spent on efficiency, meanwhile minimizing the time spent on mistakes.
Also Read: Top 5 Air Fresheners To Make Home Healthy And Fragrant
0 Comments.