


It is a great idea to have small sitting arrangements in every room of the house. Having them not only increase the functionality of each room, but also gives you a chance to be creative with the décor of the room.
One could have mutli purpose seats that act as furniture and storage both. A wooden bench could, for example, can have shelves in the bottom to accommodate things like shoes, umbrellas, gloves, and the list goes on!
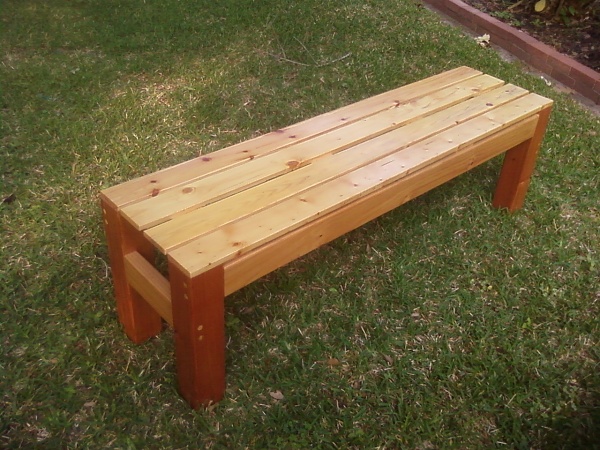
Putting together a conventional wooden bench can is not too hard. For undertaking DIY Projects at home, here’s a great guide (the guide provides specifications for bench measuring 14X36 inches).
How to Get Started
With the right set of tools, obviously!
The tools that you’ll need include:
- A saber saw with a fine blade
- A router with around a 1/4-inch straight bit
- A table saw, pencil compass
- A countersink bit with a diameter of 3/8 inch
- Drill, awl, and a 3-inch foam trim roller
- A Foam brush and 80-grit sandpaper
Material to get:
- A cardboard or pine that is 34 inches long with measurements 2 1×6.
- Another pine that is 18 inches long with measurements 2 1×12. You’ll need one sheet of plywood (1/4-inch) to be used as legs
- One pine shelving plank (3/4-inch) and 12 1 5/8-inch drywall screws
- Dowel plugs of 12 3/8-inch-diameter to be used as plugs that will cover countersunk screw heads
- Continuous hinge that are 30-inch-long and 1 5/8-inch-wide. Get one Toy-box lid support also.
Making a Wooden Bench
Step 1: Cut the pine curved edge to make two aprons and make a cardboard or pine template of a curve. The next step will be to trace the shape onto each end of both 1 x 6 aprons.
Step 2: cut the second pine into Cut with two legs of 3 3/4-inch radius. Cut the plywood sheet to 11 1/4 x 24 1/2 inches so that you can use it as the bottom of the bench.
Step 3: Cut the pine shelving plank to make the seat for the top of the bench. Next, attach the legs to front and rear aprons. Attach bench top to rear box wall and use hinges to hold bench top up.
Step 4: Attach front and rear aprons to a leg using the screws. Insert the plywood bottom to your grooves and take six more screws to fasten the remaining leg. Fix the plugs that you have cut from dowels into the holes. Sand them before applying putty and then prime and paint.
Step 5: Cut the seat and mount with the rear apron using a hinge. Make sure the hinge is on the center of the apron and fix it. You can use a rasp to smoothen it for a clean appearance. Wipe away any impurities using a cloth.
0 Comments.