


Wood wainscoting serves to be perfect choice when it comes to transforming a plain room into a warm and inviting space. Whether you wish to change you study area or living space, it suits your every need. And the reason is not merely that they look good. In fact, wainscoting is easy to install and offer greater durability.
Yes, you will just need a few basic carpentry tools do accomplish the task.
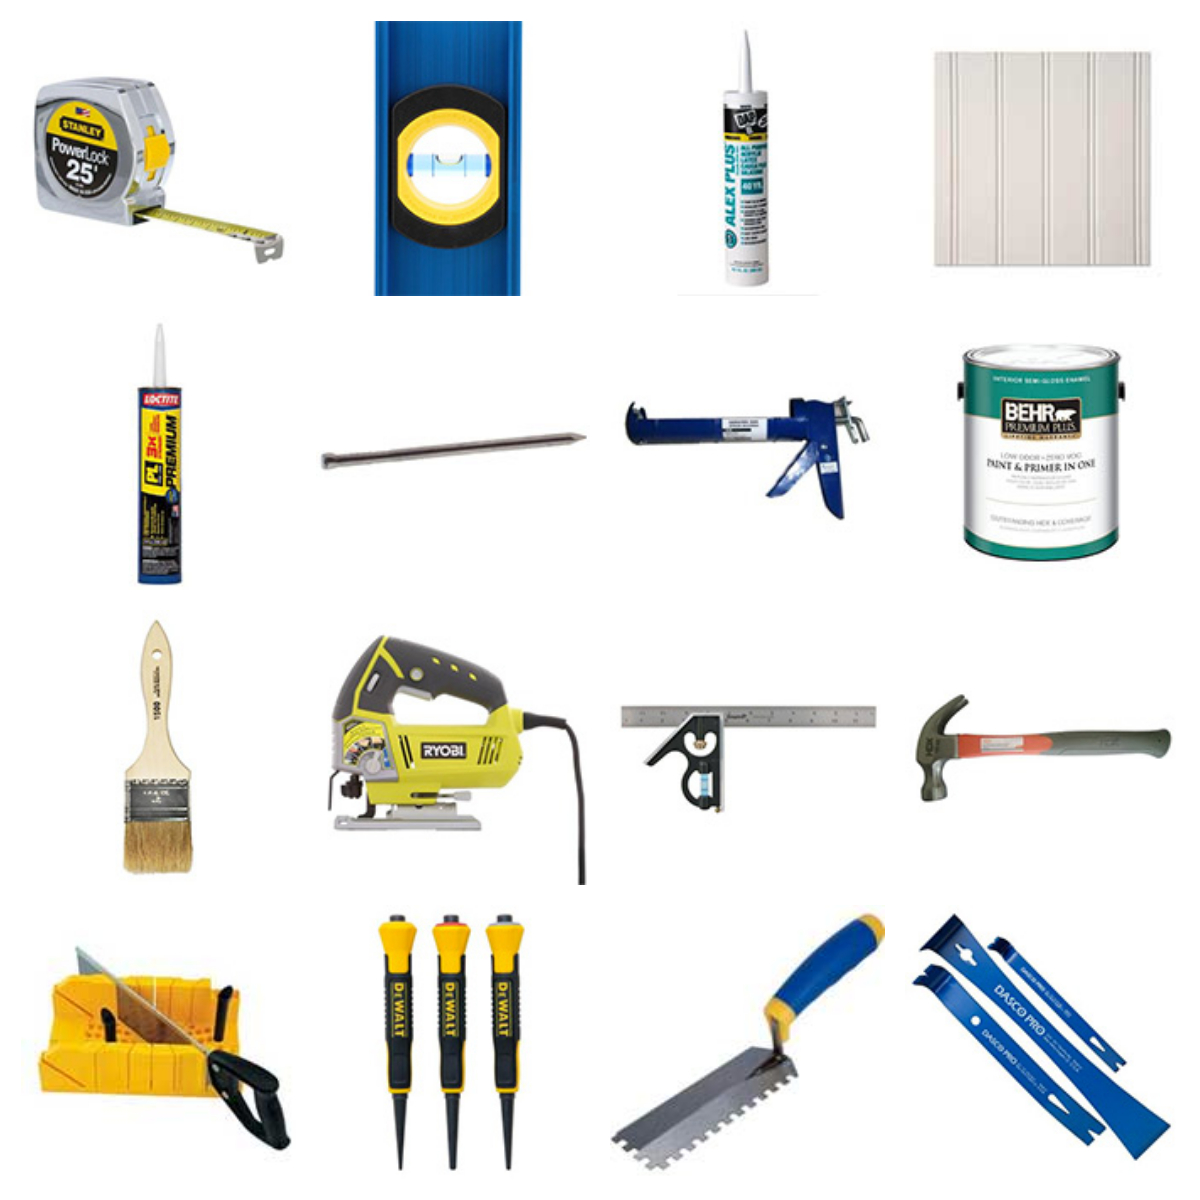
Here’s what you need?
- Tape measure
- Carpenter’s level or water level
- Chalk line
- Beaded-board panels
- Base molding
- Cap molding
- Electrical outlet box extenders
- Construction adhesive
- Finishing nails and brads
- Paintable caulk and putty
- Paint
- Tools
- Caulk gun
- Paintbrush or roller
- Safety goggles
- Handsaw or circular saw
- Jigsaw or keyhole saw
- Hammer
- Nail set or air-driven nail gun
- Miter box
Having all these at one place you are good to start with the installment process.
Step1: Prepare well
You need to start preparing for the installation several days before. Look for acclimatizing the panels of your house. For this stack them horizontally, meanwhile keeping the blocks of wood between the panels. This will let the air circulate and also prevent any excess moisture to escape. So it will cut down on the reduction of problems like expansion and contraction.
In case, the panels are unfinished, you can paint or stain them. Also remove the base moldings in the room.
Step 2: Proper measurement
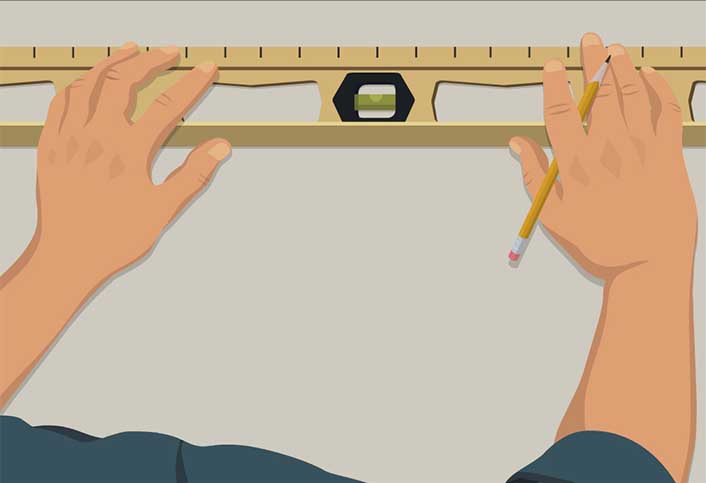
There are good chances that the floor is not leveled. So here you will have to create a level line. You can choose a starting point on your wall, followed by measurement of the desired height of the wainscoting. Now from that particular point you will draw a horizontal line and extend it around the room. Connect the points with a chalk line.
Step 3: Board cutting

Next you need to cut the wainscoting panels to the desired height. You can use a handsaw or circular saw for this. Simply measure the positions of any outlets or other electrical boxes and sketch the dimensions onto the backs of panels using a pencil. To cut those holes you can use a jigsaw or keyhole saw. Later install a box extender at each electrical point.
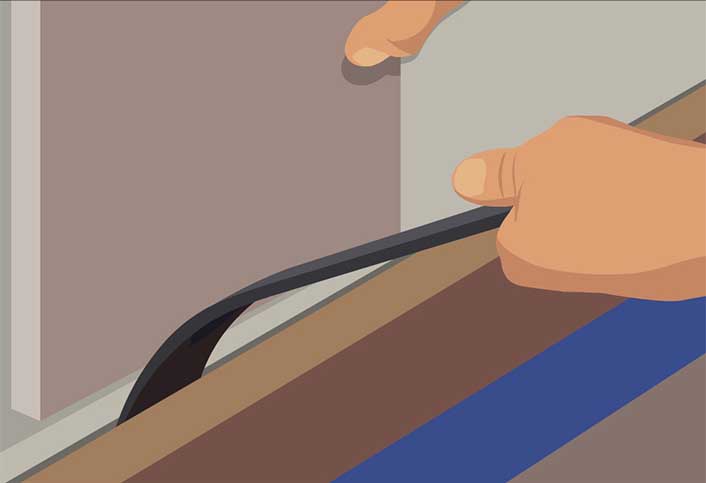
Step 4: Fix it to the wall
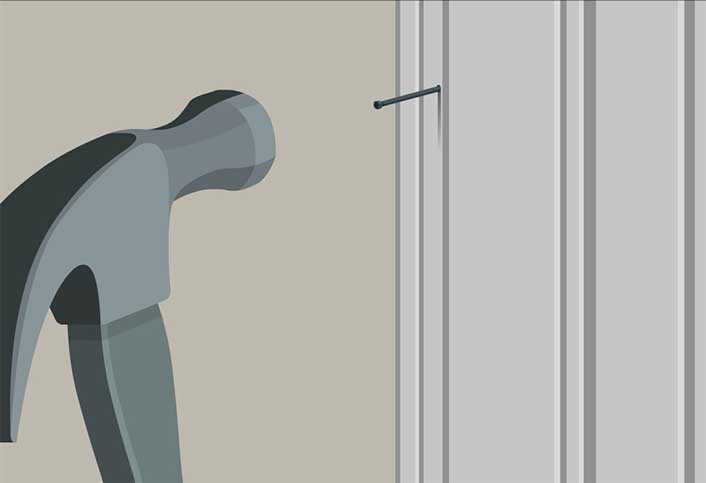
To apply the adhesive nicely squeeze it in a zigzag pattern onto the wall side of a panel. Firmly press the wainscoting panel into place. For better results you can nail along the edges. Now in case you are hammering the nails by hand, make sure use a nail set to indent each nail. It should be covered with putty. Carefully repeat with the remaining panels.
While you are working on each panel, space and overlap as per the manufacturer recommendations. Reason being, it will make the panels to expand and contract due to temperature changes and seasonal humidity.
Step 5: Molding installment

With help of a miter box, cut the angled joints on the cap molding. Just fasten the cap molding using brads at the tops. This has to be followed by installation of base molding with brads. Lastly, fill out those visible nail holes with putty. Also caulk gaps wherever necessary. You can give a touch up with paint.
So now you can install this wainscot directly over your existing drywall. It is an ideal way to bring character to your room.
Lastly, if you get stuck somewhere or you feel like consulting an expert handyman in NYC, don’t hesitate in calling us. Our expert will be there for you in no time.
0 Comments.