


“Every photo you take communicates something about a moment in time – a brief slice of time of where you were, who you were with, and what you were doing.”
~ Kevin Systrom
So true!
Photographs are certainly one of the most prized possessions. Whether it is about the family’s gathering or a trip with friends, those images capture love, laughter, and feelings in them. Now in order to enjoy those beautiful photos you have taken, and keep those memories alive in long run, you need to frame them up.
It is here when the desire to display them in some unique way arises. Though there is no dearth of photo frames available in the market, yet when it comes to personalization things can be different. Of course, those moments are close to your heart and you would love to have customized frames. You can either consult a professional handyman in NYC to help you with the same or give it a try yourself.
Want to know how to do photo and picture frame crafting at the comfort of your home? Here we are bringing you 3 different framing projects to start off right away. These are stunning and can be used for various purposes. Have a look:
Construct Your Twig Frame
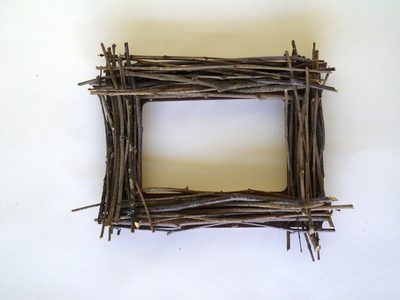
If you wish to have something very beautiful and rustic, a twig frame can be the best way out. While you can showcase your most favorite photos, you can add up some extra authenticity to your décor. And it is not going to cost you too much. All you need is choose some twigs from your own backyard or neighborhood. Plus, you can make it a group activity, having your kids involved in the process.
Here’s what to do:
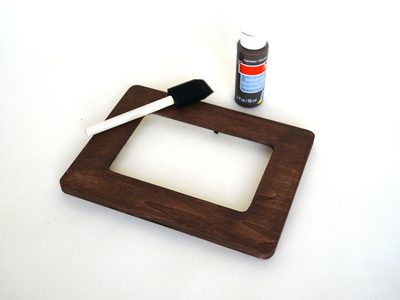
ü Step 1: Take an old frame, and remove its glass, and backing. Now you need to paint it with one coat of brown acrylic paint on the frame. You can use a foam brush and allow it to dry for one hour.
ü Step 2: Meanwhile the paint is drying you can trim the collected twigs with pruning shears. Make sure you keep them about 1/4 inch longer than the actual length and width of the frame. Later you will separate the trimmed twigs into two piles, i.e. one for width and one for length.
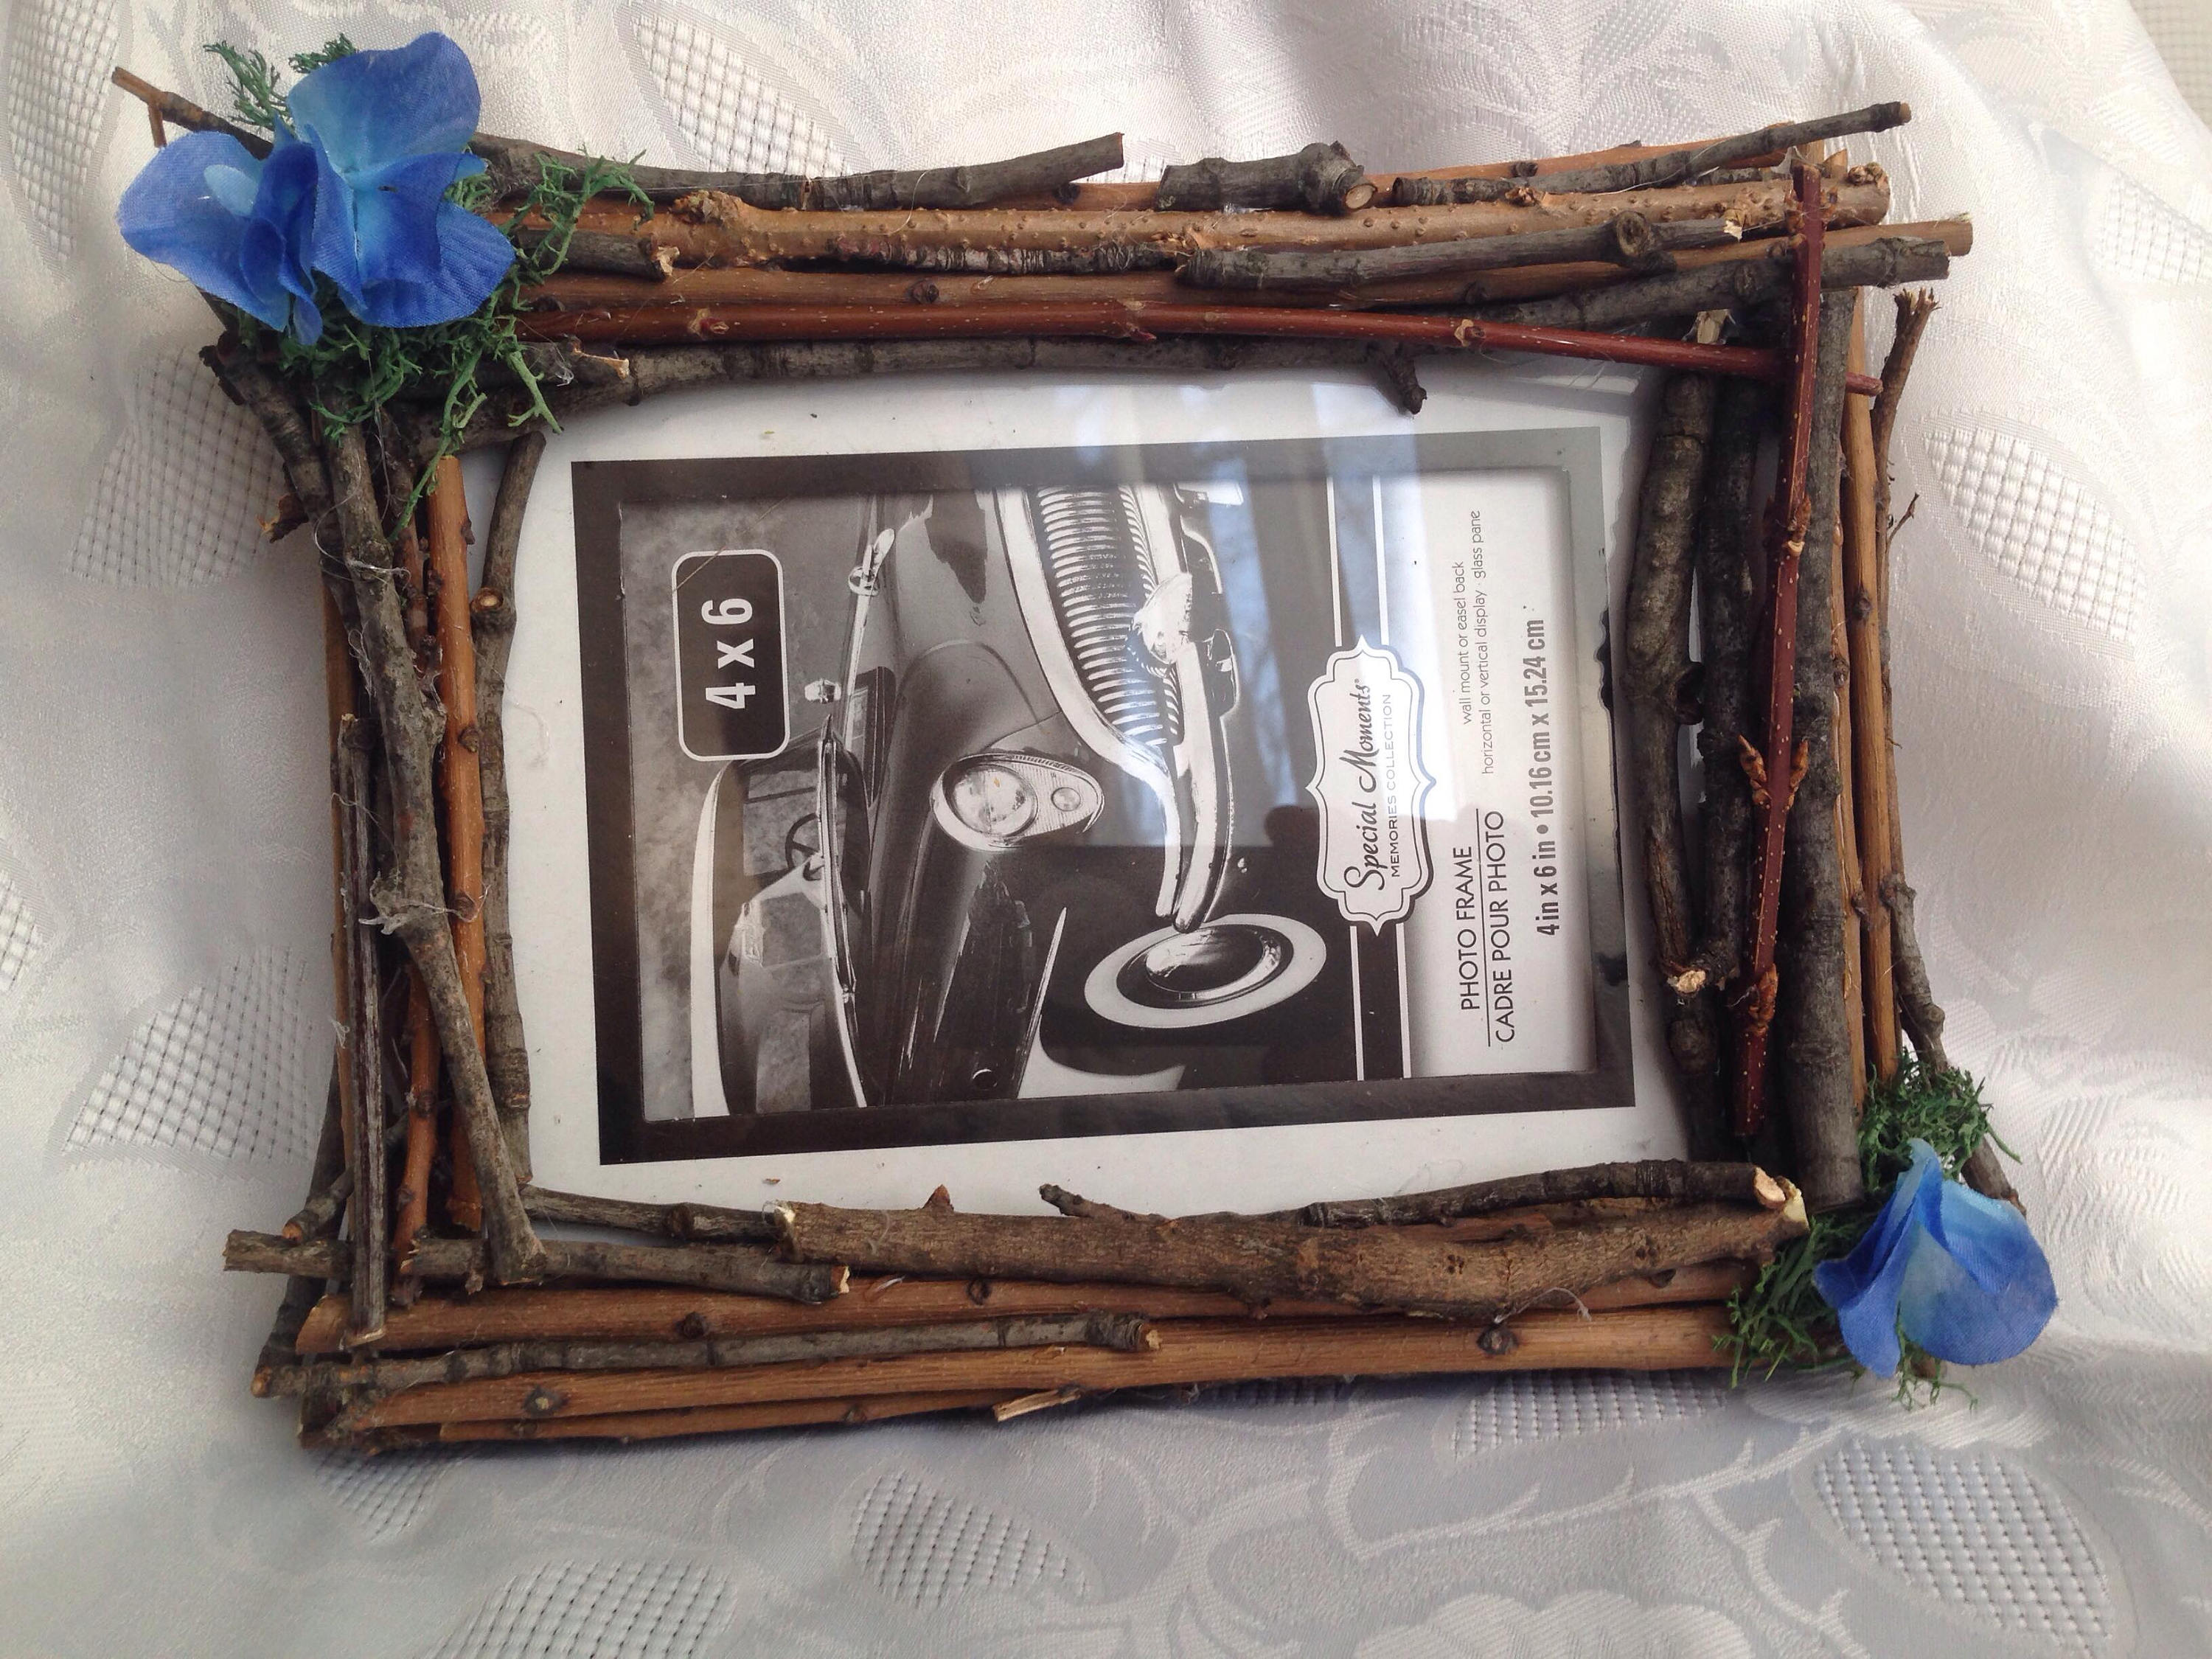
ü Step 3: Heat the glue gun and check the paint. If it is dry, take a few of the larger twigs and start setting them on the length, followed by width of the frame. Do it little carefully and look for the spots where they touch the frame. Just apply a small dab of hot glue. Later you can add more twigs, doing it little by little, and overlapping them at the corners. Remember, you need to add the twigs evenly to the four sides. You are almost done.
Extra tip: If you wish to embellish the frame you can use decorative moss and silk flowers.
Prepare a canvas base
For those who prefer cute, little, and tiny frames, this is going to are a perfect fit. You can use it for number of reasons, right from highlighting those moments to placing your favorite quotes. To make it your will need white acrylic paint, round paint sponge dauber, mini burlap canvas, two mini clothespins, and hot glue gun.
Here’s what to do:
ü Step 1: To start with dip sponge dauber into the paint. Next you have to gently paint polka dots, followed by the clothespins.
ü Step 2: Let the paint completely dry and heat the glue gun. You have to glue both, canvas and clothespins, nicely.
ü Step 3: It is done and you can now display your favorite photo or saying.
This one is quite simple to create, isn’t it?
Make a frame from your window frame
What if you can give a makeover to your old window frame? It is quite simple and looks great. To complete this project you will just need an old window, printed image (approximately the same size as window or bigger), scissors, and tape. And to hang it you will sawtooth picture hanger or a hammer and nails.
Here’s what to do:
Step 1: Firstly you need to clean your window and set it aside to dry.
Step 2: Get your image printed. You can get it done in colored format of the black and white print. Make sure you get it come in a little bigger size than the outside edges.
Step 3: Simply tape the print to the back of the frame and it is ready.
You can hang this up on your wall, or the other way out is to hammer in two sawtooth hangers and place it.
So these were some of the most creative ideas you will not only love but you’ll obsessed with. And why only for your home, these serve to be an ideal choice for gifting purpose. You can give them for birthdays, anniversaries, weddings, or just a teacher gift, letting them know what they mean to you.
0 Comments.