


Painting can be fun and can also save you so many bucks that have to be spent on the paint material and the labor cost. If you are little keen to know how you can paint professionally, efficiently and neatly then just read the following blog.
Anyone can paint a room provided you have the right guidance and a little bit determination to do so.
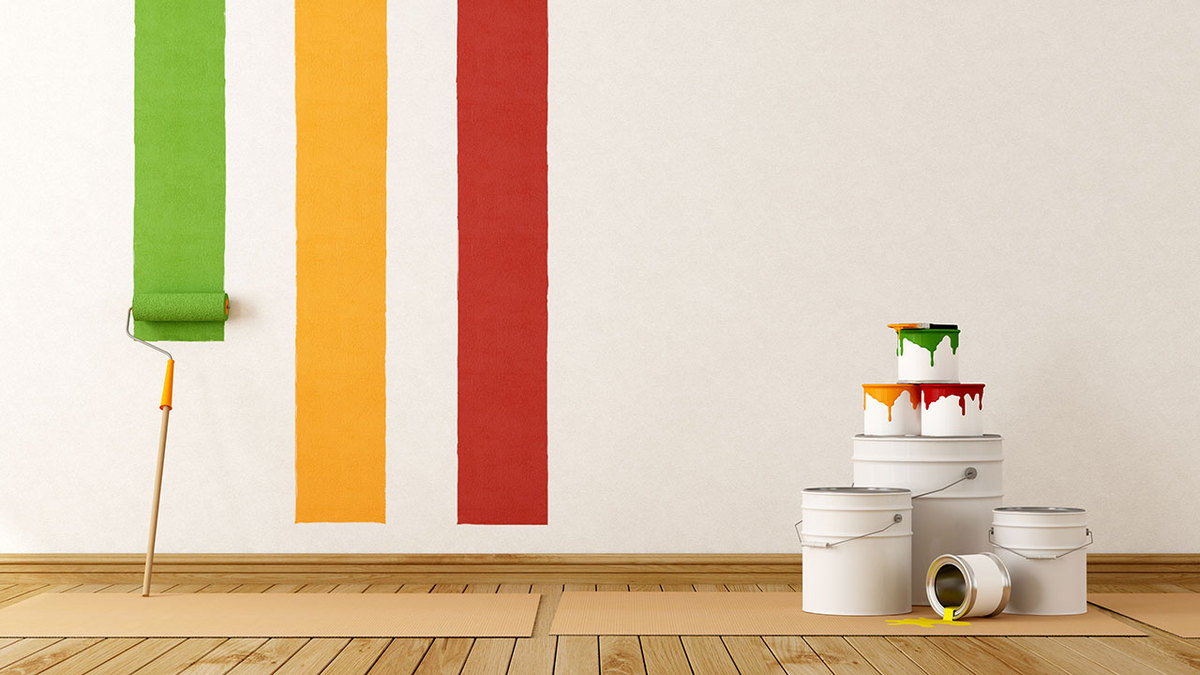
You will need the following materials for painting:
TOOLS NEEDED:
- putty knife
- paint roller extension handle
- rags
MATERIALS NEEDED
- fiberglass drywall tape
- drywall compound
- painters tape
Move all the Stuff Out of the Room
Before you begin to paint, you will have to prep up the room for painting. Move all furniture; remove the chandeliers, wall hangings, paintings, electrical fixtures and any other obstruction out of the room.
Cover the floor with rough clothes to make sure the floor is not spoiled due to painting marks.
Fix all Damaged Surfaces
For an efficient painting of the room you should fix all dents, chips and cracks in the wall. If there are large holes or cracks then fill the patch with the help of drywall or plaster. After you have filled the patches, let them dry and then sand smooth.
In case the walls are too dusty, cleaning with a damp sponge is the best idea.
Prep the Room
If you are painting in a damp weather, then make sure you dehumidify the room by running the air conditioner before painting. But while you are painting it is must to have good ventilation in the room therefore, open windows and run fans so that the there is space for fresh air to flow through.
You can use painters tape to mask around windows and wooden work such as baseboard, ceiling moldings and door frames.
Prep the Materials
Having the right kind of brush and roller is must for your job to be perfect. So, find out what roller and brush would be fine for your painting project.
Generally, for rougher surfaces a longer roller nap is recommended. Your paint dealer can be your perfect guide for this. If you require several gallons of paint, then don’t then mix and open up all the cans altogether.
Use a paint stick to mix the paint by giving it a good stir from the bottom up so as not to let the pigments settle down.
Use the Brush
Dip one-third of the brush into the paint and then pull the brush back against the inner side of the paint can to remove the excess of paint on bristles’ surface.
For best results, start making long, smooth brushstrokes on the wall to be painted. This will prevent streaks and brush marks on the wall.
Use the Paint Roller
Dip the roller halfway into the paint and then remove the excess paint over it by rolling it back on the tray’s edge.
Start by applying paint in an overlapping vertical “W” pattern and then re-roll the area in the horizontal manner painting in a space about 3 to 4 feet square. Then refill the roller and then paint outside the painted area and following the same procedure.
You may not get a perfect finish in the first go. You can go for 2 or more coats to get the look you are looking for.
0 Comments.