


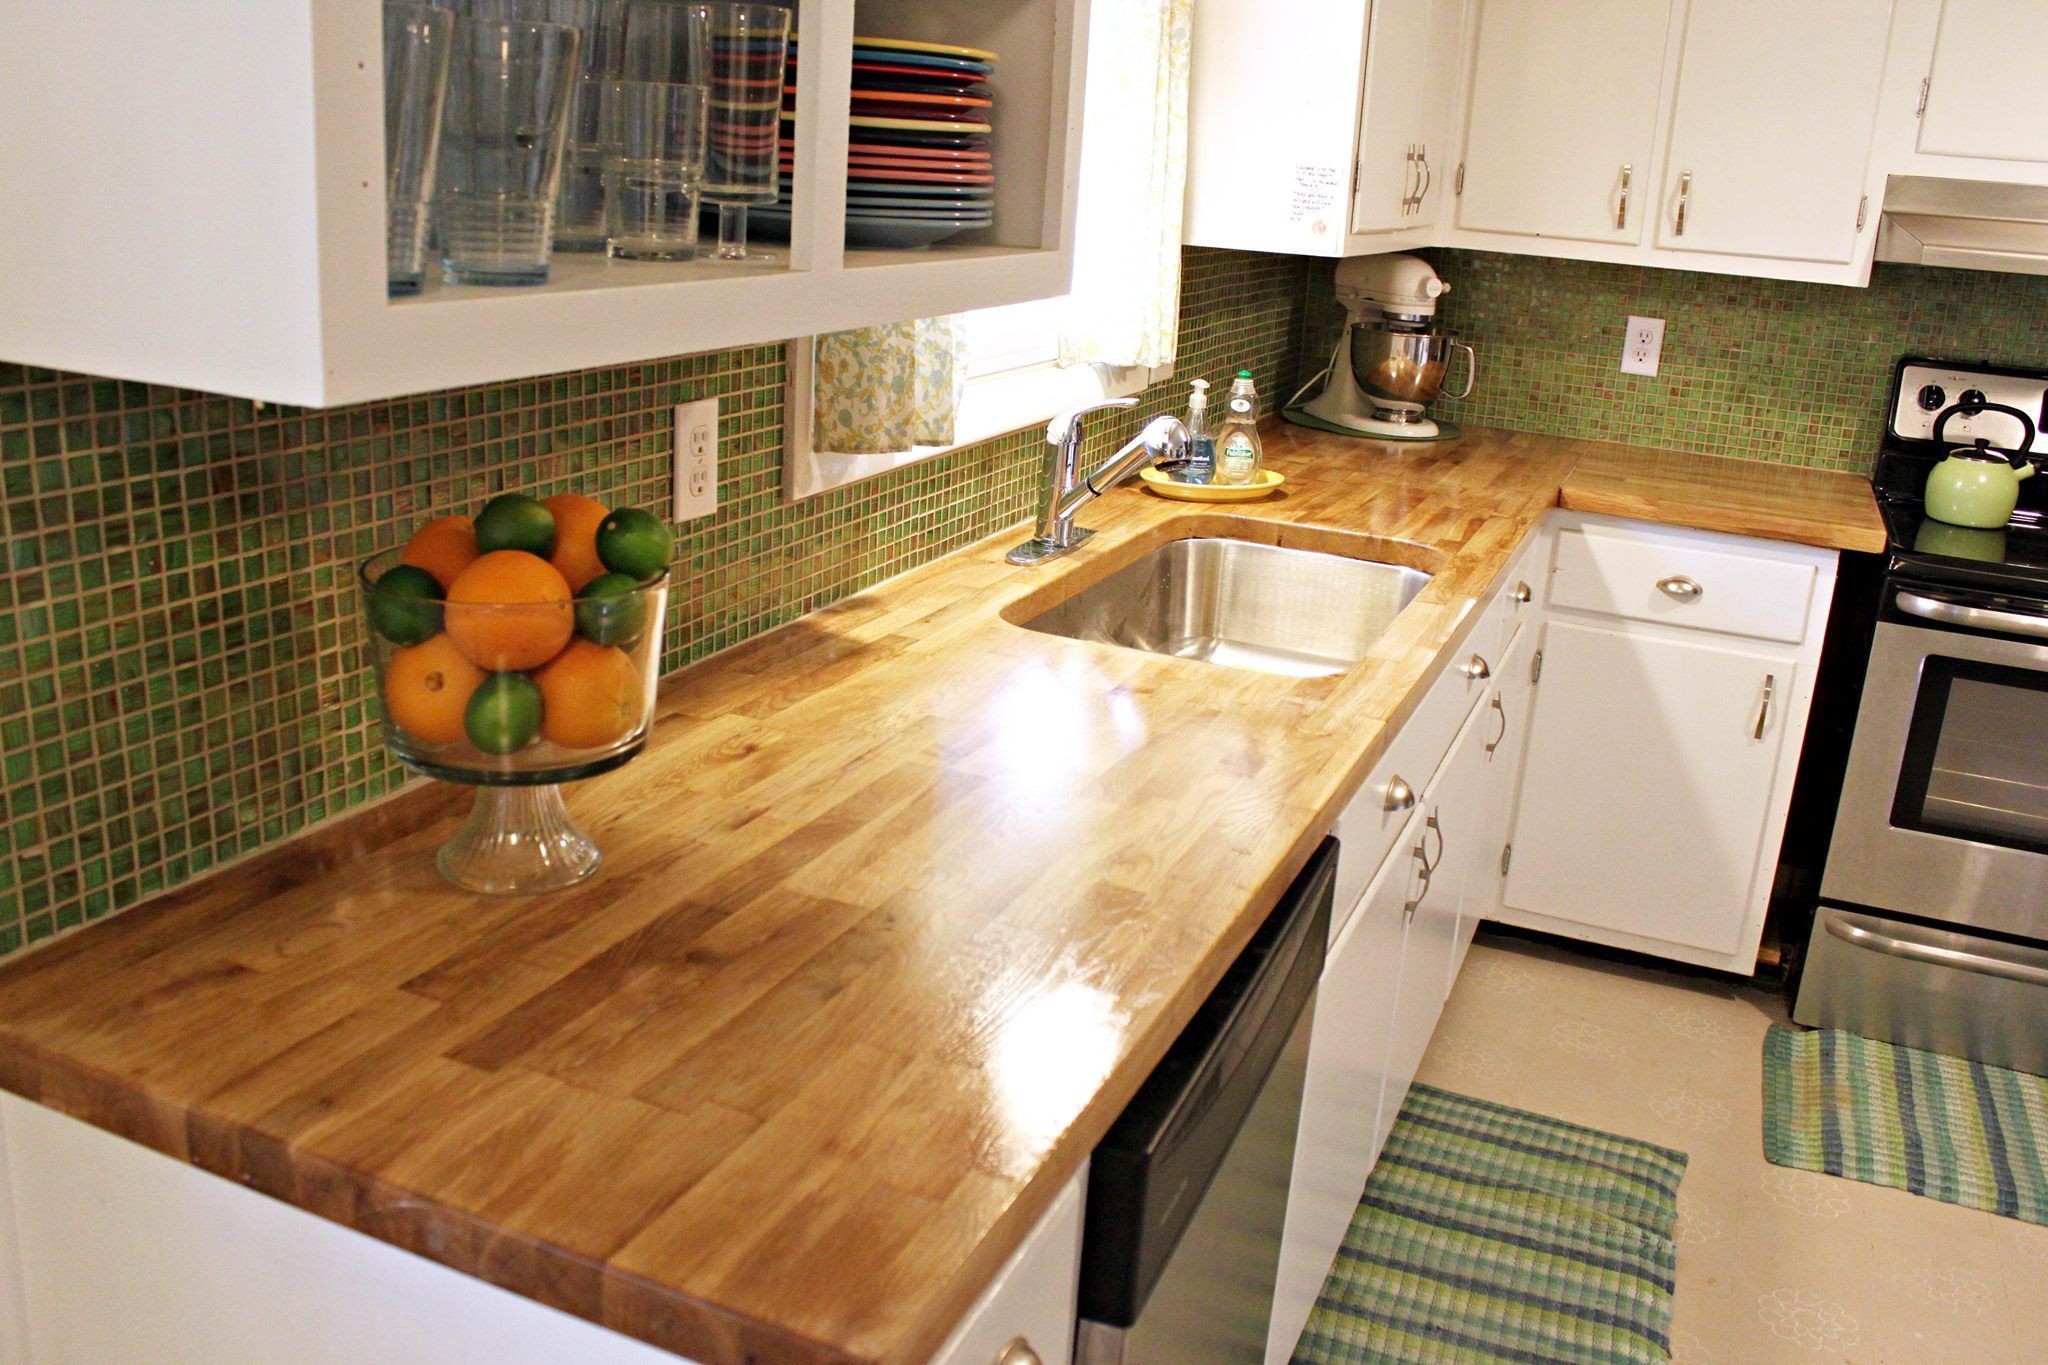
Can you install IKEA butcher block countertops on your own? If you are like most homeowners, the reply may be probably no. After all, playing with the block is the most complicated step in the entire kitchen renovation.
Being a homeowner with little to no handyman’s skills, it’s not easy to mess up and cut pieces of butcher block.
Luckily, it is not that cumbersome. All you need to come up with the right tools and guidance. Don’t worry! Here we have provided you all.
What You Need…
• Painters Tape
• Kreg Rip-Cut
• Jig Saw
• Clamps
Take a Note of the Butcher Block:
First of all, inspect the butcher block for various things. You will notice that there can be a lot of variation between the colors of your slabs. So you need to plan out the right placement of each slab to avoid getting two different slabs against each other.
Cut the Block to Size:
Coming to the next step, it’s time to cut the blocks to size. Although it can be done with any simple tool, make sure to get clean cuts. Here are the steps to cut the block to size…
• Remove chipping around the edge of the cut as much as possible. You can do this using a saw blade with “medium-sized teeth).
• Use a low tack painters tape over the cut to avoid getting minor splinters. But the tape shouldn’t be too adhesive.
• Make sure to make a straight cut. Using a jig can help you with that. The ideal sizes of jigs are 1x10s and 2x4s. Clamped them down on all ends. It will let you run the saw right along with it and get a clear straight cut.
Cut Butcher Block Opening:
Additional holes are required for a drop in stove top or drop in the skin. They both have paper templates you cut out and position and trace onto the butcher block. Here are the steps to cut the opening of a butcher block:
• Drill a hole into the corner of the rectangular template.
• The hole will be into the template, in the part that will be removed. The hole let you position the blade of your jig saw to make the cut.
Give it a Finishing:
The finishing is a multi-step process and intimidating as well. Don’t worry! Go through these steps to give a perfect finish to your Ikea Butcher Block Counterpart.
• Sand it with 150 grit sandpaper. Once the sandpaper is worn away, use 220 to repeat the sanding process.
• Get clear all the dust and residue off your counters.
• Pour some mineral spirits into it (put your gloves one). Let it dry.
• Apply some spar varnish to your butcher block. Leave it for overnight.
• Sand it with 220 grit sanding block in between the coats. Apply the next coat. It is ready!!!
Attach and Install Butcher Block:
It is easy to attach butcher block. Thanks to the cabinet bases ensuring quick and easy install. There are simple metal angles being attached to the base cabinet which also support the countertop. Besides, they come with a slotted metal strip stretching along the front edge. To install the butcher block, place the butcher block countertop in the right location. Afterward, drill a few holes through the angles and slotted strip; then place in some screws. And make sure to caulk the joints locating in the meeting point of the slabs. Pat yourself on the back for doing this wonderful job yourself!!!
Want to say anything? Want to share your experience of installing butcher block? Let us know by commenting below!!!
0 Comments.