


There are ‘n’ number of things like home improvement or repair projects at our home that should be left to trained and experienced professionals. Few things like Soldering and Replacing copper pipe is not one of them and you can always do it on your own like the soldering process you might find it bit intimidation in the beginning but once you try it as a Do-It-Yourself project, surely you will find it fairly simple and all you have to do is to follow a few basic instructions.
CAUTION: You must follow the safety instructions throughout the tutorial
Supplies Needed
- Eye protection
- Heavy gloves
- Fire protection cloth
- Fire extinguisher
- Copper pipe
- Copper pipe fittings
- Tube cutter
- Deburring tool
- Wire brush
- 120-grit emery cloth, sandpaper, or fine steel wool
- Propane torch and regulator with built-in igniters
- Lead-free soldering paste (also known as “flux”) with a flux brush
- Solder wire
- Rags
How to Prepare the Pipes and Fittings
Before we begin the never before the done project, you must put on an eye protection gear for the sole purpose of safety.
Let us cut the Pipes to Length
- You will have to clamp the pipe between the cutting wheels and guide the wheel accordingly. To bring out the desired longer pipes, let us tuck the other end under a pressure like under your knees to make it stay stable.
- While the process you would need the cutter to score the pipe all the way around.
- Now let us tighten the cutter know at one quarter-turn and score the pile like before all around again that will make it a slightly deeper scoring line.
- You will need to keep the hold tight over the cutter knob and keep turning it quarterly and score it again. You would need to do this until the pipe snaps off and usually it takes around eight turns.
The process of getting a Clean and Flux the Pipes and Fittings
- Here you will be required a deburring tool or a wire bush to ream the inside of pipes. The small ridge of copper is formed from a burr comes into existent when we force it into the pipe while cutting it. You will have to make sure to remove it or it would impede the flow of water and can cause leaks.
- You would need sandpaper, steel wool or an emery cloth to clean the pipe from outside and at the part where the fittings will be done to create a joint. You will notice a shiny part when it gets cleaned and once it is done, do not touch the pipe with bare hands as we expect not to leave boy oils on the surface. Doing so will keep the solder setting without leaks.
- Get a brush and apply it on with a thin layer of flux till the last inch of the pipe. CAUTION: Do not get the flux over your fingers as it carries a concentrated acid and would injure your skin, eyes and other soft tissues.
- Get the flux on the inside of the surface of the fittings and at the joints.
- Push hard to fit the pipe with the other one that is required to join until it is seated till the depth of the fitting.
- Take a rag and wipe off any excess flux from the pipe.
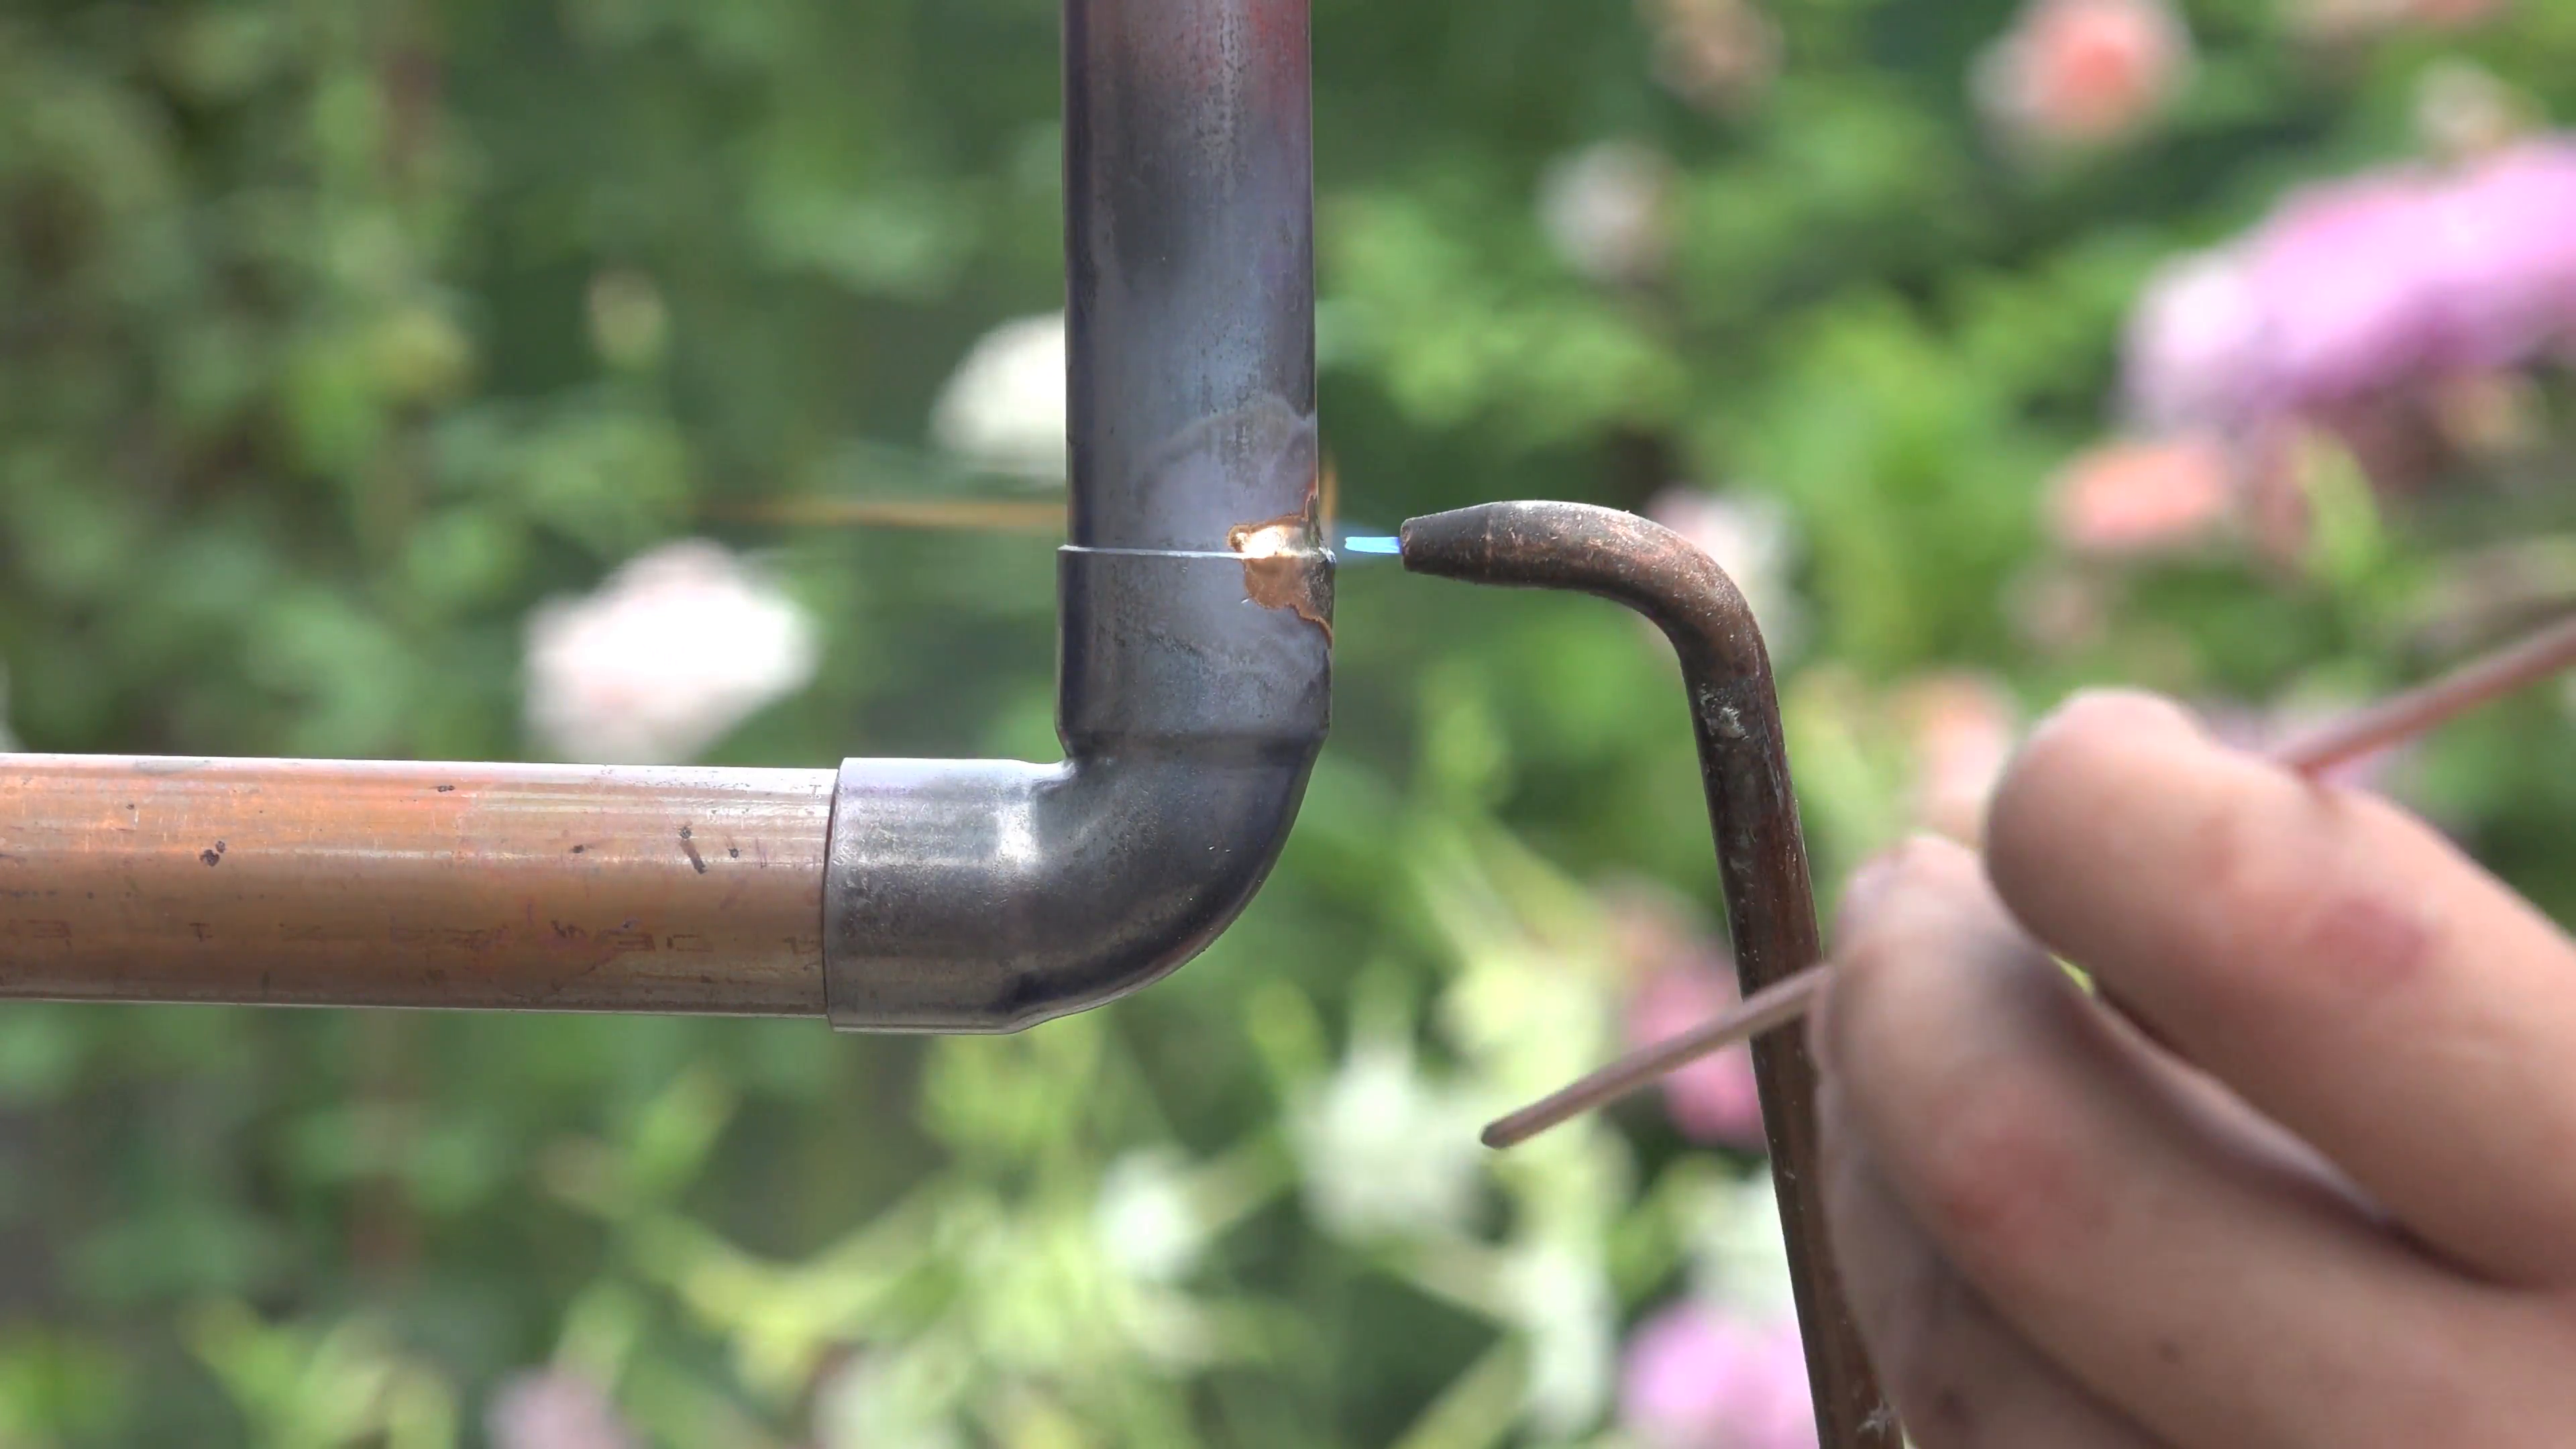
The soldering and Fixing:
Get on a heavy pair of gloves before you begin the fireworks and make sure you are still wearing the eye protection gear. For further safety, keep a fire extinguisher nearby, just in case.
- You must cover any flammable surface near your workstation with a fire protection cloth.
- From the solder roll cut about an eight to ten inches of solder wire and bend the last two inches at a 90-degree angle.
- Turn the propane torch on
- Control the blue cone of the flame to about 1 1/4 inches.
- The holding part of the torch is so that it must touch the tip of the fitting and move it back and forth to evenly heat the fitting. You would not need the pipe to heat as the fitting will take care of it. You must hear the flux sizzle when the metal heats up.
- Get the solder wire at the joint and on the opposite side of the fitting from the torch flame. Soon the metal gets hot, and the wire will start to liquefy and flow into the joint to fill the space.
- Keep filling the joint until the solder begins to drip out and it will take about 1/2 to 3/4 inch of solder wire and all it depends on the size of the pipe and fitting.
- The solder joint will take around 30-45 seconds and let it cool and do not put pressure till it dries and wipes away the excess solder from the joint.
- You would need to install the pipe and test it for leaks. If you found any, remove it and take the pipe and fitting part and re-solder them.
Here you go, with the DIY for soldering a copper pipe. Do it carefully and next time onwards be your own handyman.
0 Comments.