


Many home improvement tasks require us to hire a professional. However, it can’t be denied that there are some minor repairs that cost you a hundred dollars when they are done by a professional. Right?
Why not fix them on your own to save money and hassles?
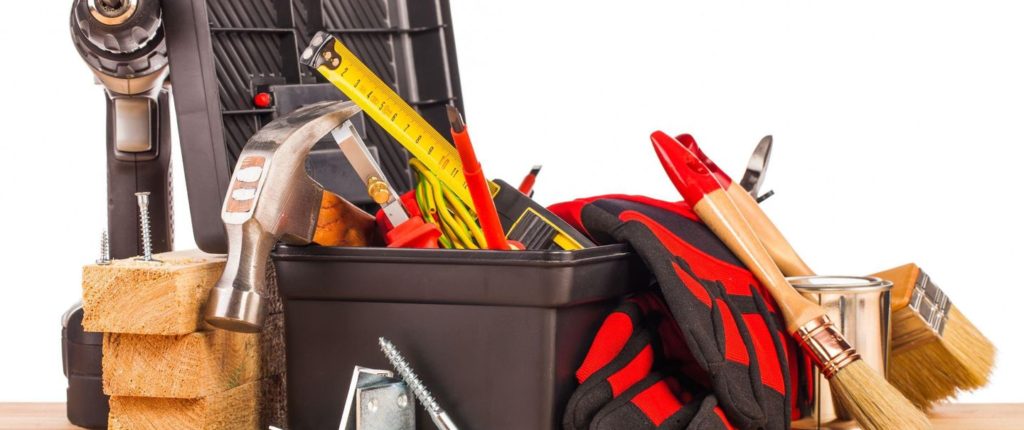
Here we have rounded up the common DIY repairs you can do without requiring a professional.
Unclogging the Sink:
Want to unclog your drain? Well, there are many ways to do that before you call a plumber.
- Pass the boiling water through the sink several times till you get rid of that blockage. (Clear the standing water first.)
- Pour a mixture of baking soda and vinegar (both in equal quantities) into the drain. Wait for 15 minutes and run hot water to see if the debris clears. Repeat several times. (Clear the standing water first.)
- Try a plastic drain snake available at most online stores or your local hardware store. Push it down the drain and then pull up the debris.
Unclogging a Toilet:
- Dump 1 cup of baking soda into a clogged toilet filled with standing water. Allow it sink to the bottom. Or you can use 1 gallon of boiling water if the toilet doesn’t have much water. Add 2 cups of water vinegar slowly to avoid the fizzing getting onto your floor. Let it sit for some hours and then check if the water has drained. If not, let it sit for overnight, and then plunge, if required, before flushing.
- Pour 1 cup of baking soda into a bowl followed with 1 cup of white vinegar. Afterward, pour in a jug of hot water.
Noisy Cabinet Doors:
Is your cabinet door making a loud noise when shut closely? The reason cabinet doors are loud over the time as there’s nothing but the wood door hitting the frame when you close it. Sometimes, it is caused by the worn off rubber bumper on their corners.
Enter sound dampening door and drawer bumpers. They are self-adhesive, meaning that you can peel off them to place over the corner and the bottom. A simple thing anyone can do! Isn’t it?
Fixing the Cracks in Wall or Ceiling:
- Apply joint compound over the crack using a putty knife followed by sanding them. Now paint over the crack with a latex primer before applying wall paint.
- If the crack is deeper than a ¼ inch, fill crevice with a filler compound before filling it with joint compound.
- For a concrete wall, use epoxy repair kits. Mix the two parts of epoxy before using.
Painting the Home:
One of the exciting home improvement jobs! However, fast and clean application of paint is important to avoid ending up with uneven coatings and patching through the paint. Here’s how…
- Clear or cover up the things like furniture, door hinges, fan and lights to avoid getting paint drops on them.
- Prep the surface by sanding, scraping, patching and filling.
- Get ready your tools and supply like paint cans, ladder, gloves, and roller.
- One gallon pain is enough for every 350 square feet of surface area.
- Transfer the paints into a bucket and dip your brush or roller to get started.
- Start painting from the ceiling first using a roller. Hold the brush like a pencil for smooth strokes.
- Afterward, start painting your walls from one corner of a room.
- Clean up your tools by dipping them into the solvent like mineral spirits or paint thinner.
So these are some easy DIY home repairs. However, don’t hesitate to call the professional if things are beyond your control. What do you think? Let us know by commenting below.
0 Comments.