


You are required to replace your garage door opener when it stops performing normally or has malfunctioned. There may be many other reasons as well that might demand replacement of your opener. In situations like these, you may only need to replace a part of the opener instead of the entire unit.
Ensure All Door Parts Are Operating Normally
In case your garage door is working slowly or is creating a lot of noise while operating, it is not always necessary that something has gone wrong with the door opener. Problem with other parts could also produce the squeaking. When purchasing a new one, make sure to inspect the unit for broken brackets, rollers and torsion springs.
Always remember – do not try to replace the bottom roller bracket and torsion springs yourself as the cable attached to it is under high tension and can only be managed by a pro.
Inspect Your Door Balance
Door balance is essential for normal functioning of a garage door. So, check the balance of your door, before jumping onto conclusions. To check the normal balance, close the door and pull down the emergency release cord. Next, lift the door about half way up and carefully let it go. The door should not move. In case it slides upwards or down, the main problem can be with your torsion springs.
Handling the torsion springs yourself can be dangerous, so let a qualified and experienced pro handle it for you.
You can also watch a video below on DIY: Replacing Your Garage Door Opener:
Select the Right Opener
A garage door opener with 1/3 hp or ½ hp is ideal for a single garage door, while 1/2 hp is appropriate for double garage door and ¾ is perfect for a door comprising of wood overlay. All openers are designed with a set opening speed, so installing one with a greater horsepower won’t make your door open or close any faster. Openers are different for residential garage doors and commercial garage doors.
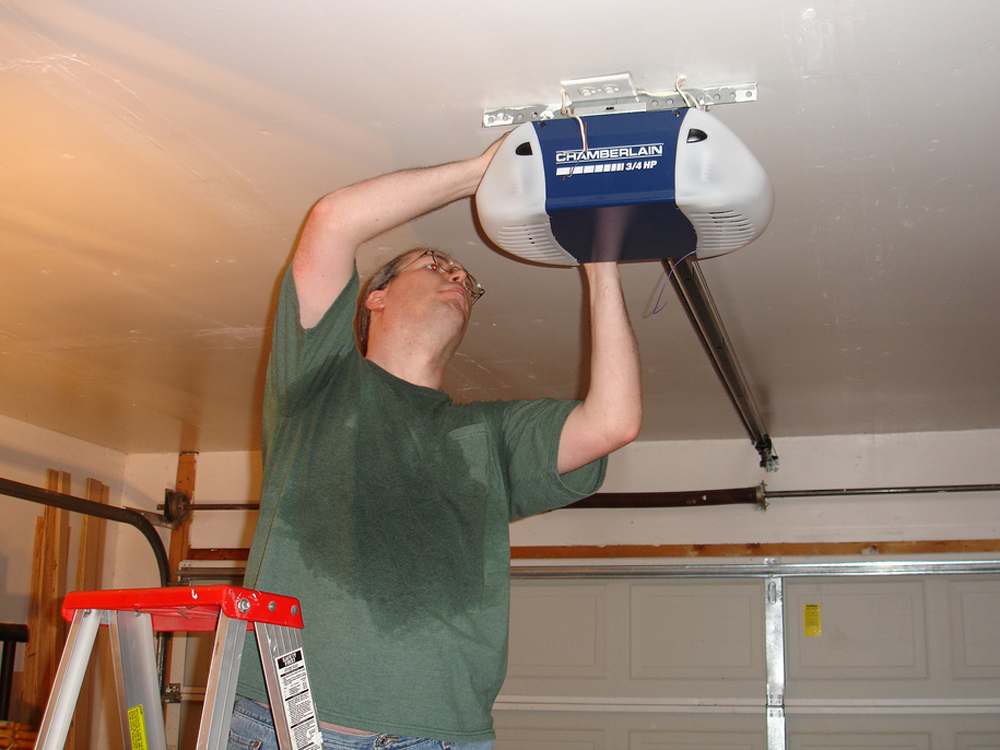
Set The Opener On A Ladder For Easy Installation
Go through the manufacturer’s manual for assembling the opener. Then mount the rail to the header bracket right above the door. Next, set the opener on a ladder where you plan to install it. The ladder can hold the opener in position while you measure the lengths of angle iron.
Keep your door open while installing the opener as it’s easy to align the opener with the centre of the door when it’s opened.
Purchase Heavy Duty Angle Iron
Generally, the openers are supplied with everything required for their installation. However the mounting straps which are included are often flimsy. Make sure you purchase slotted angle iron from a nearby hardware store.
Replace All The Components
Don’t get tempted to reuse any of the old components. Make sure you replace everything from photoelectric eye to wall button and even the old wires that run from your opener, when installing a new opener.
The article came from ASAP Garage Door Services Inc. They are expert in garage door repair and installation.
0 Comments.