


It is always hands to have toolbox that can be used to fix anything, anywhere. A good toolbox always has tools that can solve any problem with ease, sans any hassle or time wastage. Before venturing out on making your own toolkit you should consider that it should have multiple screw bits, sockets and hex keys. Of-course you can add your own creativity and stuff-in some more tools. Let’s see how you can make you own toolbox with household items, a nice diy by Hays NYC.
Things you’ll need
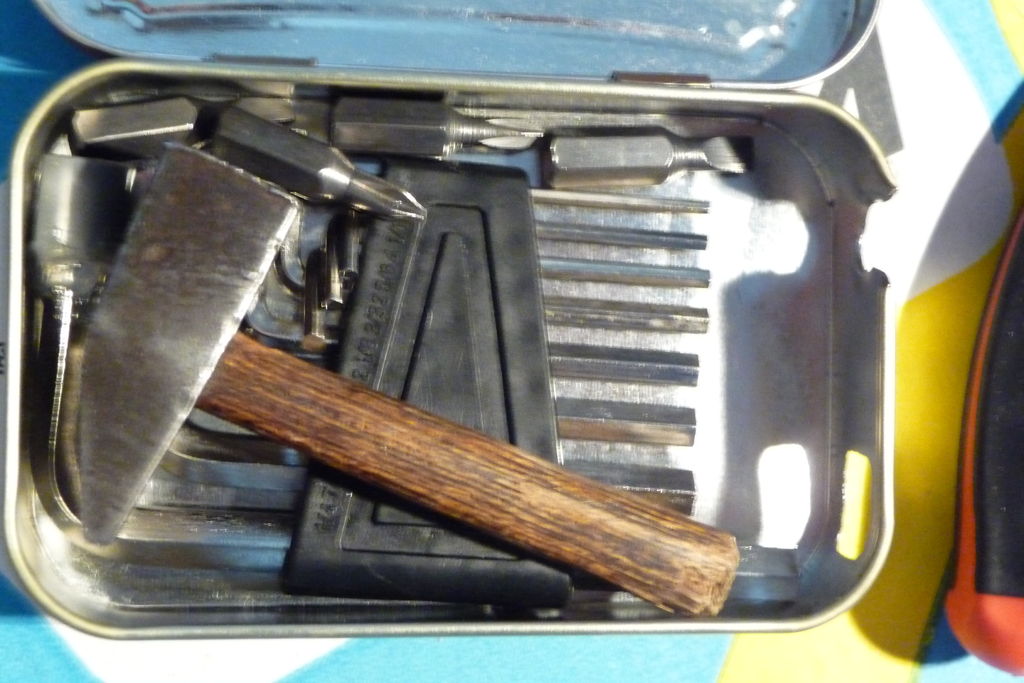
- Altoids tin or any other small box you find appropriate for the toolbox
- A rotary tool with cutting disc and sanding drum accessory
- Needle nose pliers
- Hot glue gun to make permanent bond
- Safety goggles to safeguard from any welding flares
- Multi-tool retrieved from a retail store or automobile company
- Silicon
Things you’ll need for the toolbox
- Sockets
- Mini hammer
- Hex key or allen wrenches
- Screwdriver bits
- Cardboard
- Moulding clay
Steps
1) First of all cut the makeshift multi-tool from its housing or if it is secured with screws remove it. Make it a point to take out the hex key and the magnet too.
2) Glue the magnet to the end of the hex key and glue the coupling nut to the hex key. Make it a point to create enough space between the coupling nut to fit the screw with losing any tool power.
3) Thereafter you have to use the sanding drum to smoothen the thing and get done with any loose plastic bits for a very professional looking tool.
4) While performing the above steps be sure to use only the required amount of glue and the magnet is flat.
5) Now, after having the tools needed for the whole kit, proceed by putting-in the sockets over hex keys which is the easier and more convenient way to organize the tools.
6) To make sure that the tools are very strong when you use them for tedious tasks, use a duct tape or gorilla glue to bind them together.
7) Since the Altoids tin will make noise when you carry around the toolbox therefore you should add a thin layer of silicon or rubber around the inside of the toolbox.
8) If you have more space, you can add a layer of fleece or wool which will subdue the sound when the toolbox is carried around.
9) You can add hacksaw blade, wire stripper, cutter and a pair of nail clippers to enhance the functionality possible with your toolbox.
10) You can use a cardboard to divide the sections of your toolbox.
11) Then you can use the moulding clay to make the socket set holder by placing the tools in the clay and then heating it to get hardened.
12) If you have got space left after this, then you can put a small flashlight or LED throwies with on/off switch to facilitate working in the dark hours.
Now, that you have followed all these steps to make your own toolbox, you can add your own innovation to make changes or add more elements to it.
The possibilities are limitless and you can use varying materials to create such kind of DIY toolkit. All you have to do is search for stuff in your garage or closets to get hold of tools that will come handy for completing this DIY project. I’m sure you’ll find some good things to make a toolbox that’ll last for a long time and assist you in getting over any tedious tasks that come your ways, in any condition.
0 Comments.