


Planning to organize a party? Running low on your budget?
Of course, you cannot miss on great food. Then where can you cut down the costs? The answer is with your décor. Yes, you read that right. Whether it is about an evening party or a wedding, you can save a lot more on the decorations.
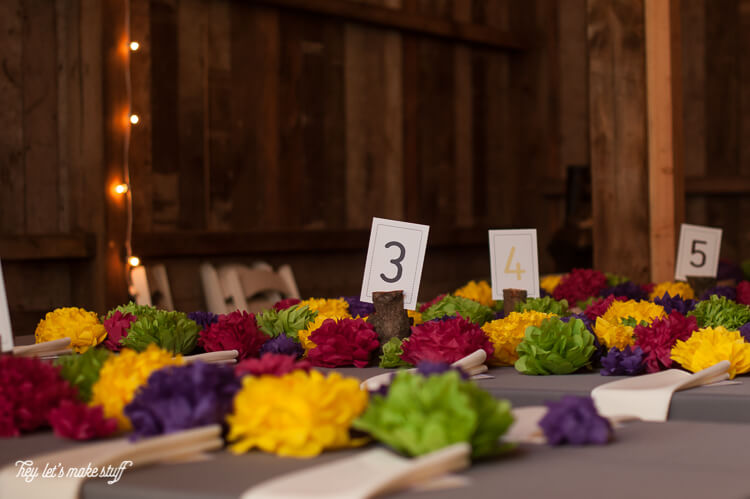
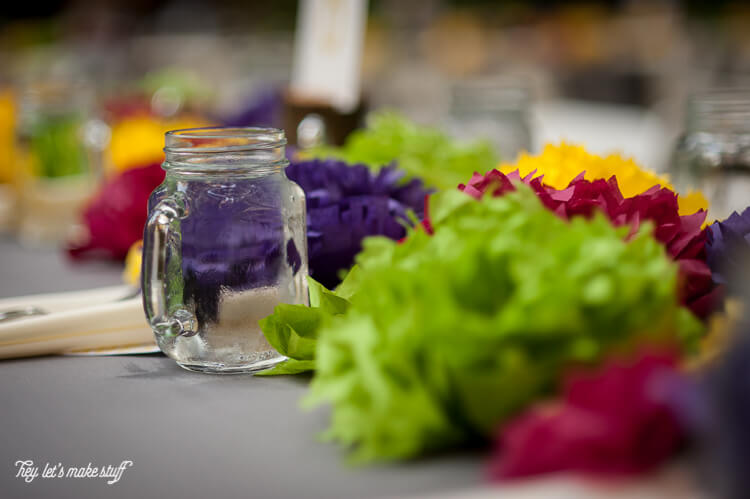
Use of fresh flowers is now a thing of past. You can make a smart switch and give a ‘green signal’ to the idea of adding paper flowers to your lush arrangements. It is easy and possible with some paper details. For those people who are looking for something a little different, this idea serves to be a unique way to add more to your personality and playfulness. The use of bright pops of color will make your event and décor memorable. And you have a wide range of options in terms of colors, sizes, etc.
Why to use paper flowers?
The simplest answer would be – these are economic and efficient. While they are meant to stay for longer, these don’t cost you much. In short, tissue flowers make a gorgeous budget centerpiece leaving a big impact. You can use them in multiple ways including:
ü Paper flower bouquet
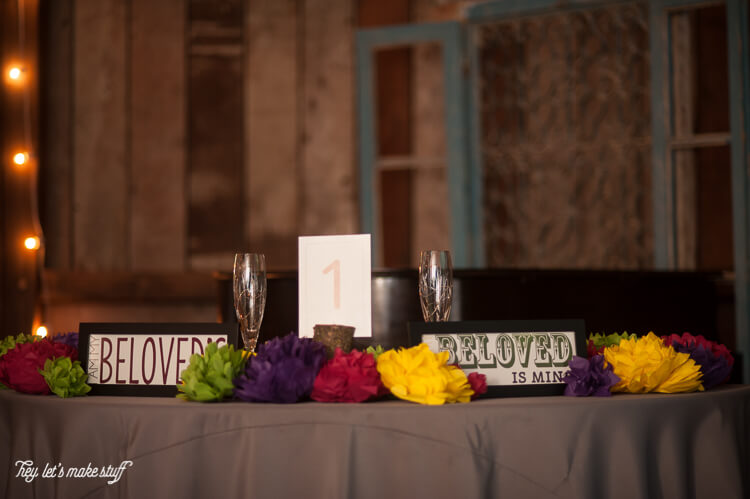
ü Sweetheart table backdrop
ü Paper flower centerpiece idea
ü Life-size paper flower decorations
ü Monochromatic backdrop
ü Escort card display
ü Paper bridesmaid bouquet
ü Aisle decorations
ü Colorful wedding ceremony arch
ü Tissue paper chair décor
ü Suspended paper flowers
ü Colorful tissue flower garland
ü Woodland-inspired centerpieces
ü Map paper flowers
ü Patterned paper flowers
Excited to learn how you can make tissue flowers? While there are different methods for cutting the petals and craft unique styles, we are mentioning here one of the easiest one.
How to make paper flowers?
You can use paper flowers for any day and occasion. From Valentine’s Day to Christmas, these will be perfect for every event. Plus, these are easiest to make. Get started here:
Collect the materials required for tissue paper flowers
Firstly, you must gather all the stuff you will need. Here is a list of the materials to make your tissue paper flowers:
¾ Ruler
¾ Scissors
¾ Green chenille stems/pipe cleaners
¾ Tissue paper sheets (choose whatever colors you prefer)
¾ Green card stock paper or construction paper (to make leaves)
Cutting and folding the paper
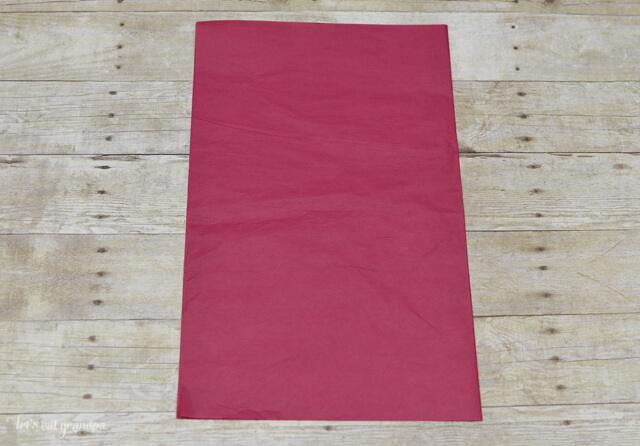
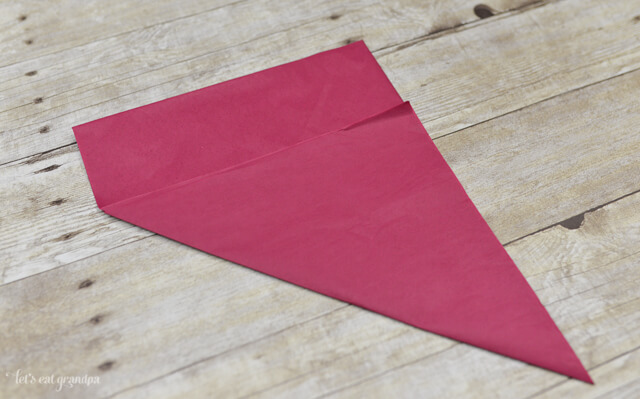
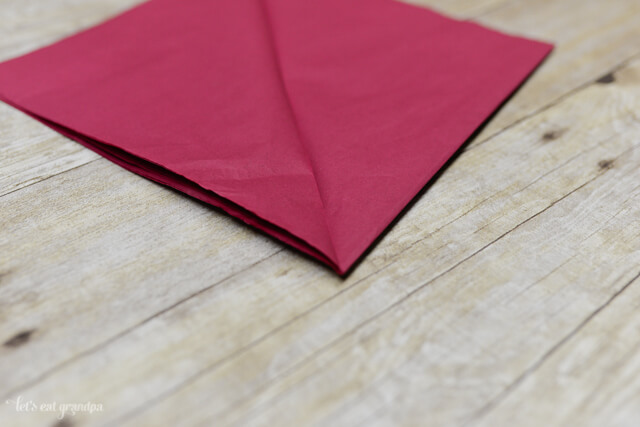

Now take your paper and cut it into 12-by-6-inch sheets. If you wish to make larger flowers, you can use bigger sheets. Simply, lay multiple sheets on top of each other. In the beginning, you can start with 10 sheets. You need to properly stack them and line them. For folding purpose, start with the shorter side and make a 1-inch fold.
Gently turn your tissue paper over for the next fold and turn it back for the fold. You need to keep folding and turning over the paper. You need to get an accordion-style narrow strip of the paper.
Cut for the rounded edges
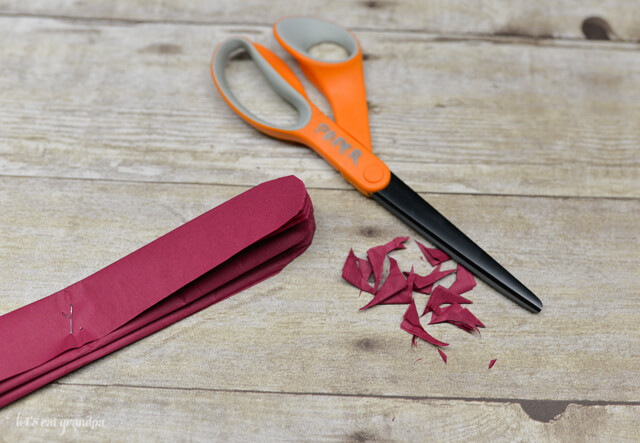
It is time for the scissors. You are required to trim the ends of the paper strip. Remember, be careful and you need to give it a rounded edge. It is essential as this will help your tissue petals to have that beautiful rounded appearance.

You can use a chenille stem. Just loop it around the middle of the folded paper strip. Be attentive and make sure it’s centered. If required, you can fold the tissue strip in half, adding the stem at that point.
Spread the petals

Slowly start on one side and open the tissue paper folds. Carefully separate the paper sheets and unfold the petals of your flower. As soon as you are done with this, it will start appearing like a beautiful blossom.
Pro tip: If you are doing it with very young children, this step can be quite hard thing to do. For this you can have your child fluff the petals once you are done. There are chances that it doesn’t look perfect, but it will still look pretty.
Place green leaves
After the stem, it is time to take some green cardstock or construction paper, for adding leaves to your flowers. You must make a 2-inch fold with the paper and draw some leaf halves on the folded edge. Nicely cut them out and your leaves of 4 inches length are ready.
Note: As it is an optional step, you can miss it out if you need just flower. However, having green leaves add more to the blossom feature and offer a more of a realistic look.
Glue the leaves
If you are adding leaves, you must paste them carefully. So, take your leaves and add place a couple of the same to each blossom. You can glue the petals to the bottom of each blossom. These can be placed anywhere.
So, your flowers are ready, and these can be used the way you want. Once you have used them for an event, you can restore them and again use after some time. What are you going to make out of such paper flowers? Share your ideas with us.
0 Comments.