


Here is an easy guide to DIY kitchen sink replacement. Although you may want to call in a plumber, but if you have some spare time and interest in replacing the sink on your own, here’s how it can be done.
1. Shutdown Water Flow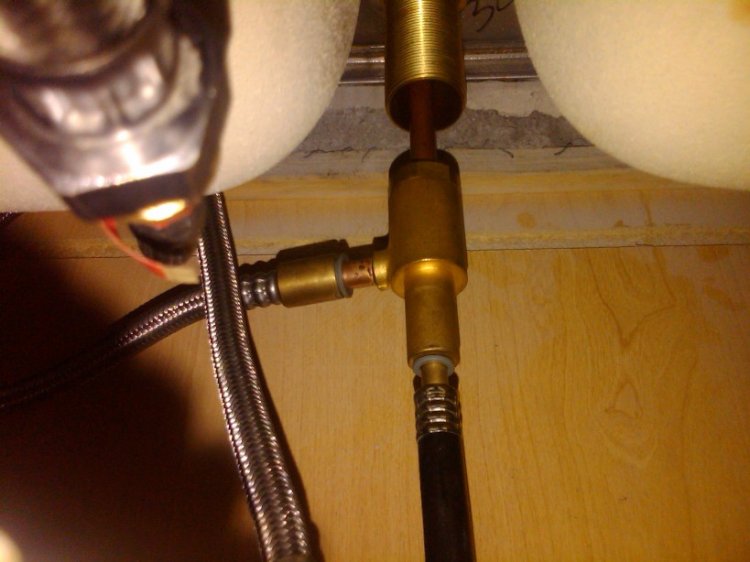
Before beginning with the replacement, it’s important you shut down the opening valve that supplies water to the sink. You can also place a bucket or other containers to trap the water flowing through the sink.
2. Choice of Sink
Various kinds of sinks are available in the market. You can purchase stainless steel, porcelain, granite and plastic made sinks. However, sinks made up of granite and heavy steel are preferred for their durability and long shelf life. These are also resistant to cracks, strains and heat. Depending on your budget, you can choose a sink for your kitchen. Along with a new sink you must also purchase a faucet, as old faucets don’t go well with a new piece.
3. Loosen Up Nuts on Either End
Now, you should loosen up slip nuts on either side of the drain. You may also be required to disconnect the plumbing connections.
4. Remove the Existing Sink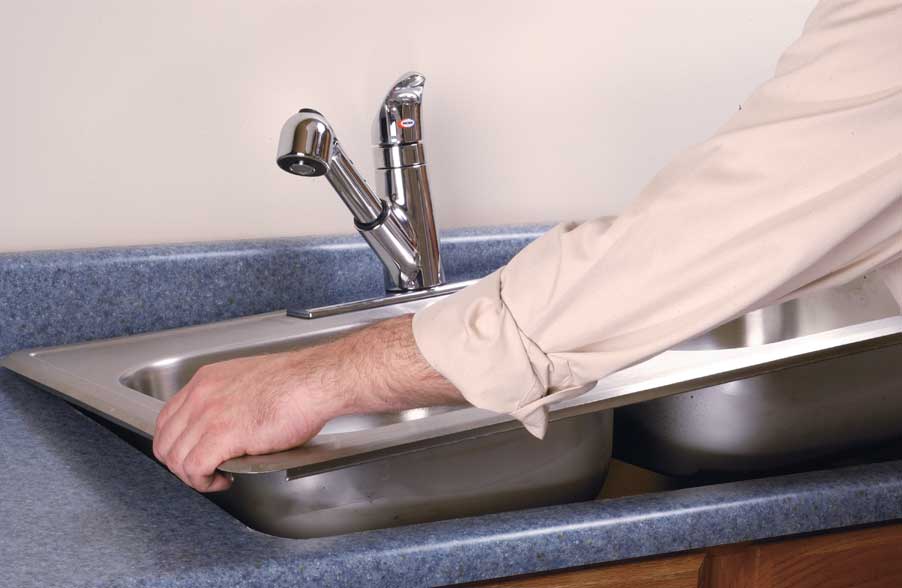
You must remove all the mountain clips and cut through any caulk or adhesive attached with the old sink. You must break the seal around carefully without damaging any part of the old skin. After you are done with opening of clips, lift up the sink and keep it aside.
5. Testing the Fitting Space
Before you are ready to fit in a new sink, it’s important that you carry out a test-fit to check whether all the connections can be made easily or not. There is a probability that you may require to increase or decrease the size of drain pipe in order to accommodate the new sink.
5. Completing the Assembly
It’s much easier to install faucets, drain pipes, basket strainers and other items placing the sink upside down. You get a better hold over the sink and a superior view of the working area.
After getting done with the installation, you should apply silicone sealant on the openings around edge.
With this you are ready to position the new sink in its place. Once the sink fits in, tighten the new mounting clips on the underside and connect the trap and drainpipe along with other connections.
Once you are satisfied with the fitting and positioning of the new sink, connect hot water on the left and cold water on the right.
Points to Remember
- You must ensure that all connections are water tight. Any leakage means dismantling the whole assembly to rearrange it.
- Check the water supply pipes thoroughly before installing. They should not carry any cracks.
In case you are unable to carry out repair work all by yourself, hiring a handyman for the job is the best option. This is especially true when we are talking about heavier sinks made from granite, or sensitive sinks made from porcelain.
0 Comments.