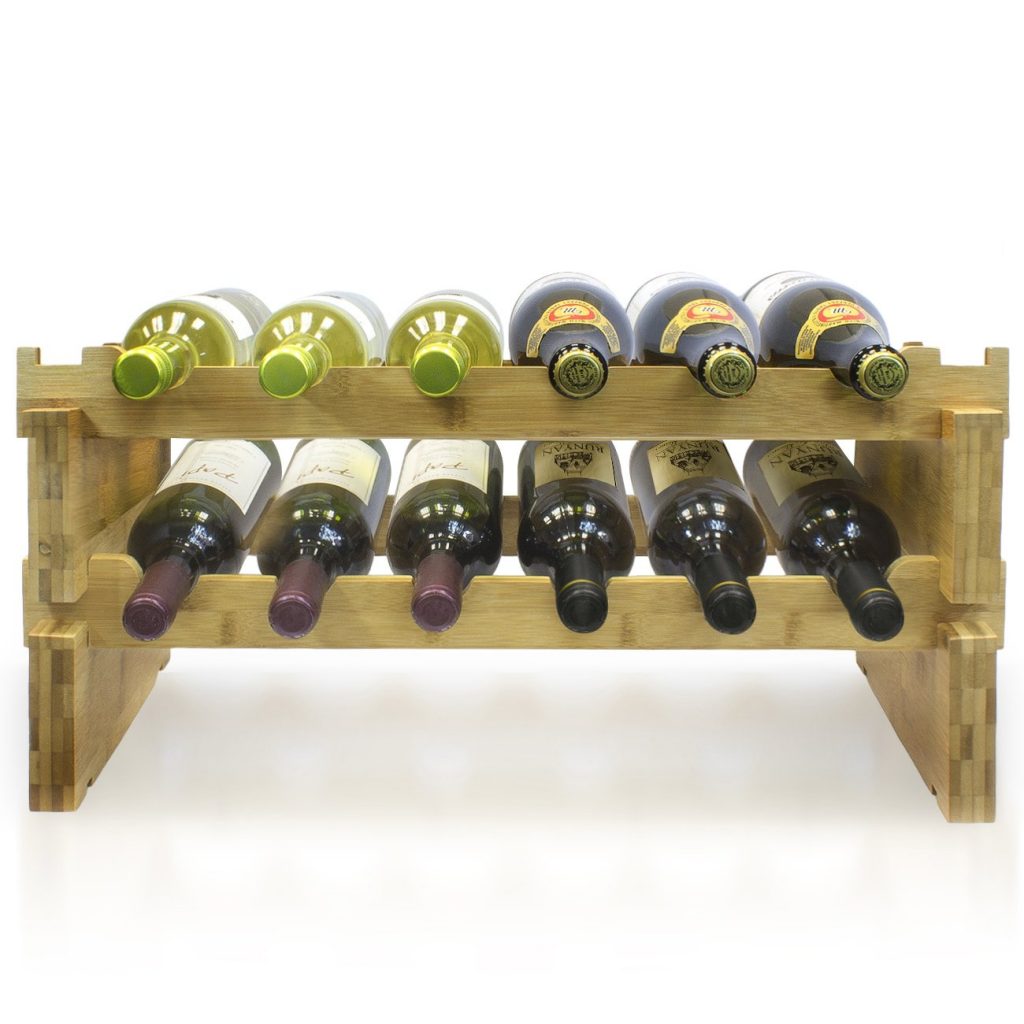
A wine rack is a great way to showcase your wine bottles and other beverages. You won’t help but stare at your wine collection that includes the likes of Pinot Noir, Shiraz, Zinfandel and Merlot. Besides, the rack ensures you space, convenience, and protection from movement, heat, light and temperature changes.
However, if you are like most people, you must be looking for a luxury wine rack for your expensive wines.
And it goes without saying that those wine racks definitely cost you a thousand dollars.
Don’t lose heart! You can build amazing wine rack at home. Yeah, you can, that’s too with limited equipment and basic carpentry skills. Creating your own lets you tailored the rack to your available space requirements, flaunt your craft skills and get a sense of personal achievement.
Here you will learn smaller racks that can be kept on a countertop or mounted on a wall. It will take you nearly 3-4 hours while the estimated cost will be $7-15.
Are you ready to build the one?
What You Need:
- Simple Wood Box or Crate (deep enough cover the bottles)
- Table Saw
- 2 x Plywood Pieces
- Stain
- Brush
- Rag
(Note: Make sure to wear safety gears like gloves and safety goggles before you start. Call a handyman if you stuck in the middle of the project due to the complicated steps.)
Take Measurement:
Measure the wood crate or box on a diagonal. As I have told you earlier the box or crate should be deep enough to cover the bottle’s length.
Cut the Piece of Spare Plywood:
Take spare plywood and cut it to the diagonal measurement of the box. This will divide the box into two right angles. Cut each end of the plywood at a forty-five-degree angle using your table saw. Make sure to create the shape at each end without leaving too much of the length. Although this piece of plywood can survive the load of the bottles if fits properly, you can nail it from outside to make it holds more strong.
You are left with the second piece of plywood. Right? It will be used to create a subdivision on either side of the plywood.
Cut it to the dimension from the centerpiece of the plywood to the one corner of the box. It should sit properly.
Are you worried if it holds the bottle weight? The concern is the same as of the plywood. And the solution is also the same. Nail it from either end.
Get Ready to Paint It:
Your simple wine rack is almost ready. All you need to coat it with some nice paints to make it look attractive. Here’s how…
- Wipe all the pieces with a clean cloth to remove dust.
- Choose the desired color. The sophisticated colors for a wine cabinet are a truffle, beige, burgundy, wooden, black and brown. Stain the pieces along with the inner side of the box. Or choose the one that can go well with your décor.
- Make sure to paint using a light hand. Light colors will require you to do one coat.
- Once you are done with the first coat applied to all parts, gently wipe down the wood using an old rug to remove excess stain. This will improve your finish and minimize the duration of drying.
Leave It to Dry:
Leave your wooden box dry completely. Or see if you can keep it aside for overnight. That’s up to you. One thing is for sure, you will appreciate your creation every time you look at this handmade DIY wine rack. You can keep it in your kitchen, dining room or anywhere across your home.
A must-have piece for your celebrations and dinner parties at home!
Do you want to ask anything else? Just drop your thought to the comment box given below.


0 Comments.