


Do you have plants at home? You must be worried when you forget to water them or there is no one around to take care of them.
Self-watering planters are an answer to this concern!
Don’t judge them by their name as they don’t’ actually water themselves.
They hold a reservoir of water at the bottom from where soil can draws up water when it dries out. The top section of the planter contains soil and the plants while the bottom contains the water reservoir. You can fill the reservoir using the tube or hose attached to it. There is a divider between the water and the potting mix to prevent the mixing of soil into the water.
This way, self-watering planters assures you consistent moisture for your plants. They are useful if you are not around all day or if you travel a lot. Another benefit is that the water gets into the roots directly, unlike in spraying where the water goes on a sidewalk or leaves.
Self-watering planters are easily available at garden equipment store or the online site like Amazon. However, most of them are fancy and expensive as well.
The good thing is that you can build self-watering container yourself at home. All made possible with the DIY tips for self-watering planter at home.
Method 1: Planters with Plastic Soda Bottles
Things You Need…
- 2 Liter Soda Bottle (the straight sided are the best)
- Knife
- Glue
- String
- Marker (to mark bottles for cutting)
- Thick jute thread (for water as an water absorbent)
- Drill
STEP 1: Cut The Bottle 5” Up From The Base.
STEP 2: Drill a Hole in the Lid for the String to Go Through.
STEP 3: Use Jute Cord That will Absorb Water. Pass it Through the Lid Making a Knot at Inner Side to hold it in Place. 14” Long will Work for 2 Liter Bottle.
STEP 4: Attach the Lid to the Bottle
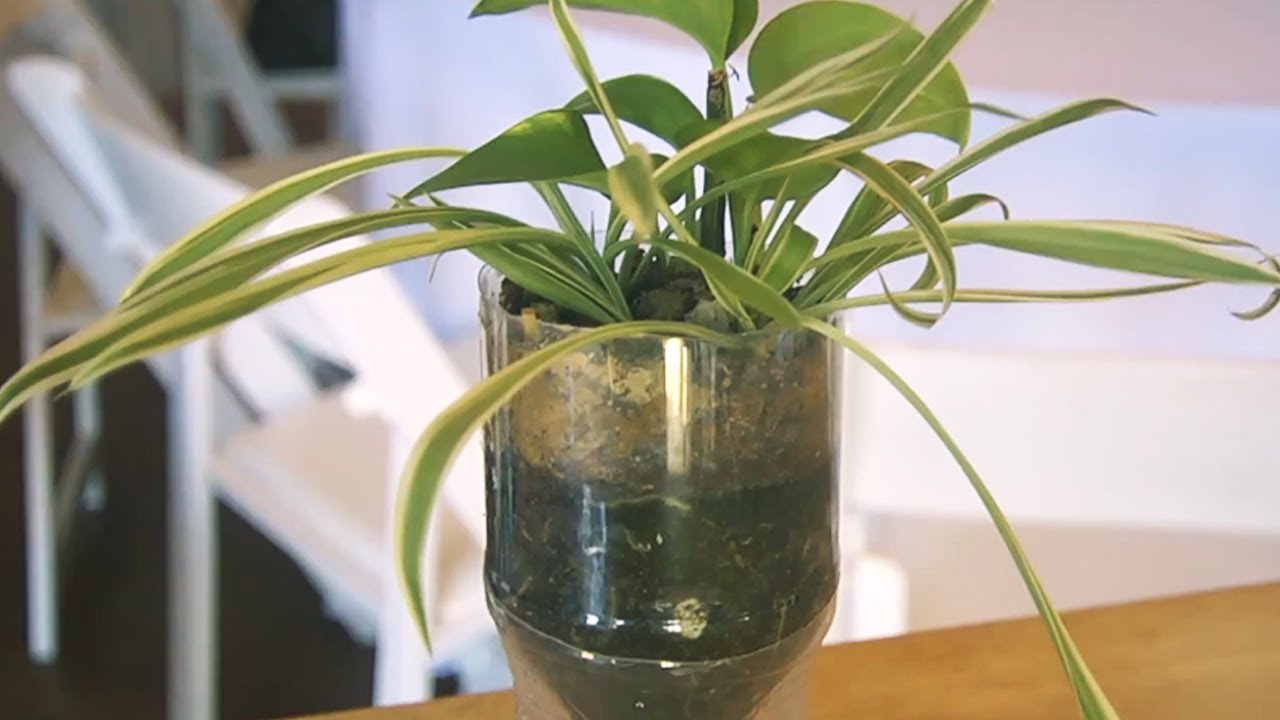
STEP 5: Place Water in the Bottom Part. Then, Attach the Top Portion Upside Down into It. Make Sure the Jute Cord or String Immerse in the Water in the Bottom Part.
STEP 6: Add Soil and Your Plants to the Top Part. Make Sure to Water the Plant Yourself First as the Soil is required to Be Damp.
Remove the Upper Portion to Fill the Reservoir at the Bottom Part.
Method 2: Make Tiny Holes on the Bottle to Be Buried
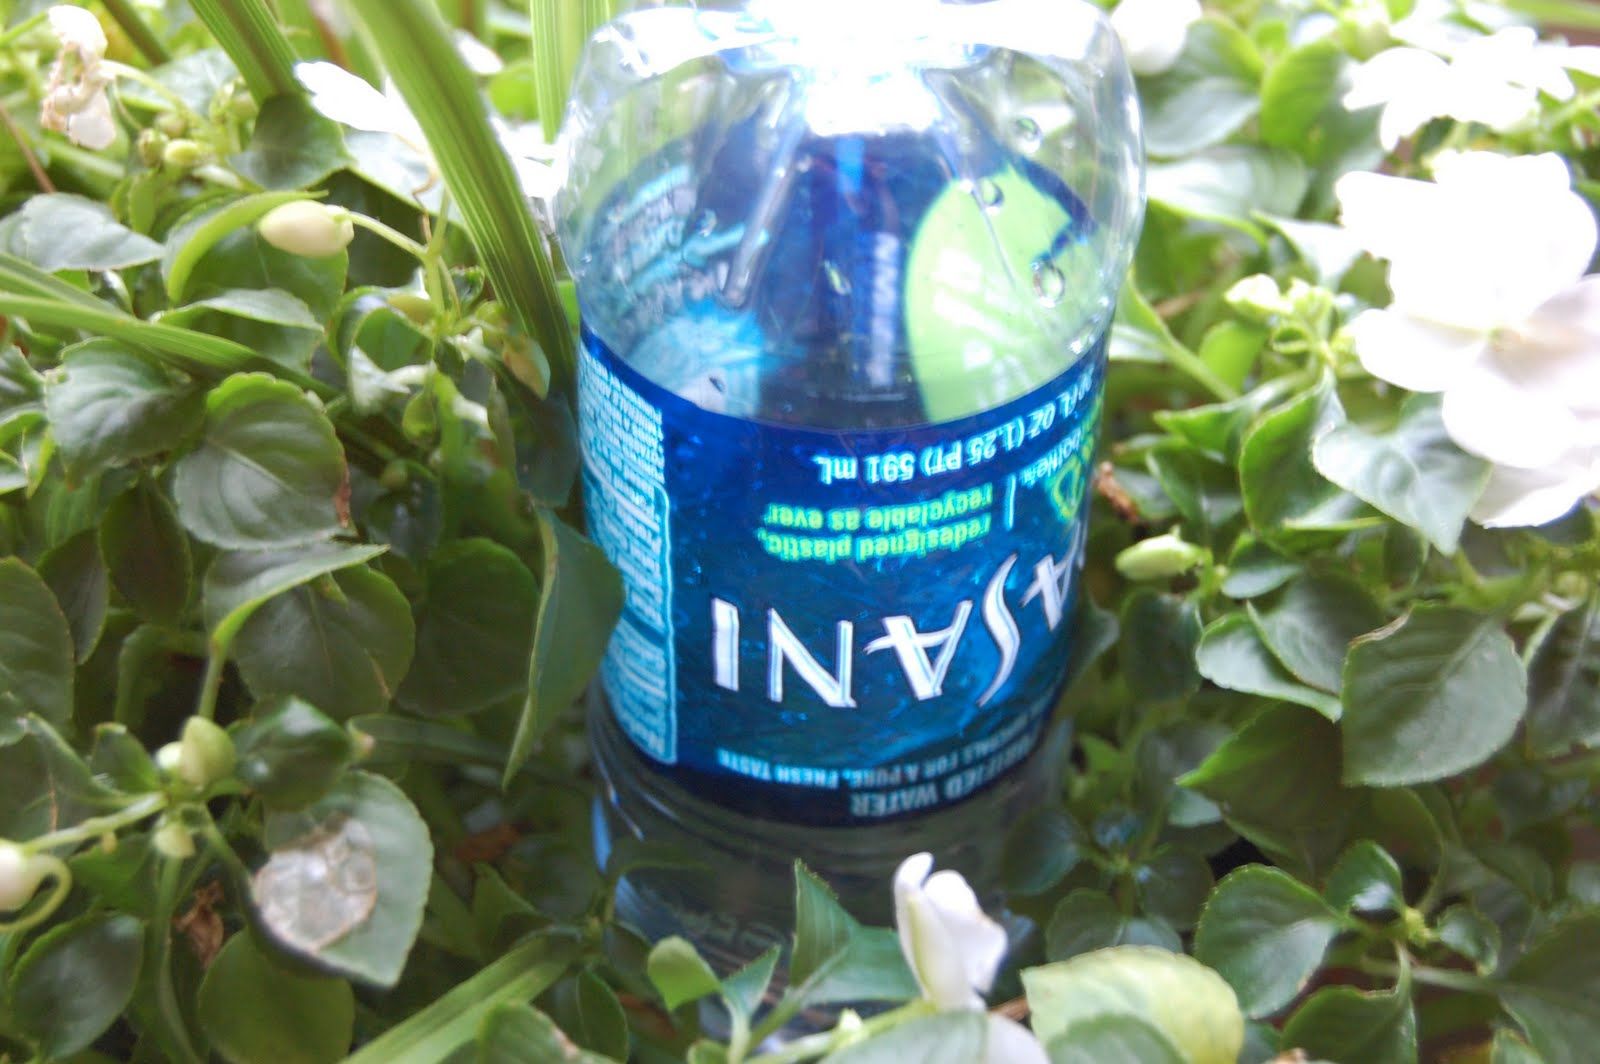
This method is useful for a larger container or planter. It is good for the plant in ground that requires a more constant water supply.
STEP 1: Take an Empty 2 Liter Soda Bottle.
STEP 2: Cut the Neck Off to make it Suitable for Hose Placement
STEP 3: Make Small Holes Randomly through the Body of the Bottle
STEP 4: Dig a Large Hole in the Center of the Planter to Bury the Bottle
STEP 5: Adjust the Soil to the Open Neck of the Bottle
STEP 6: Fill the Bottle with Water from the Top
The water will seep into the soil through the holes.
Method 3: Wooden Box Self Watering Planter
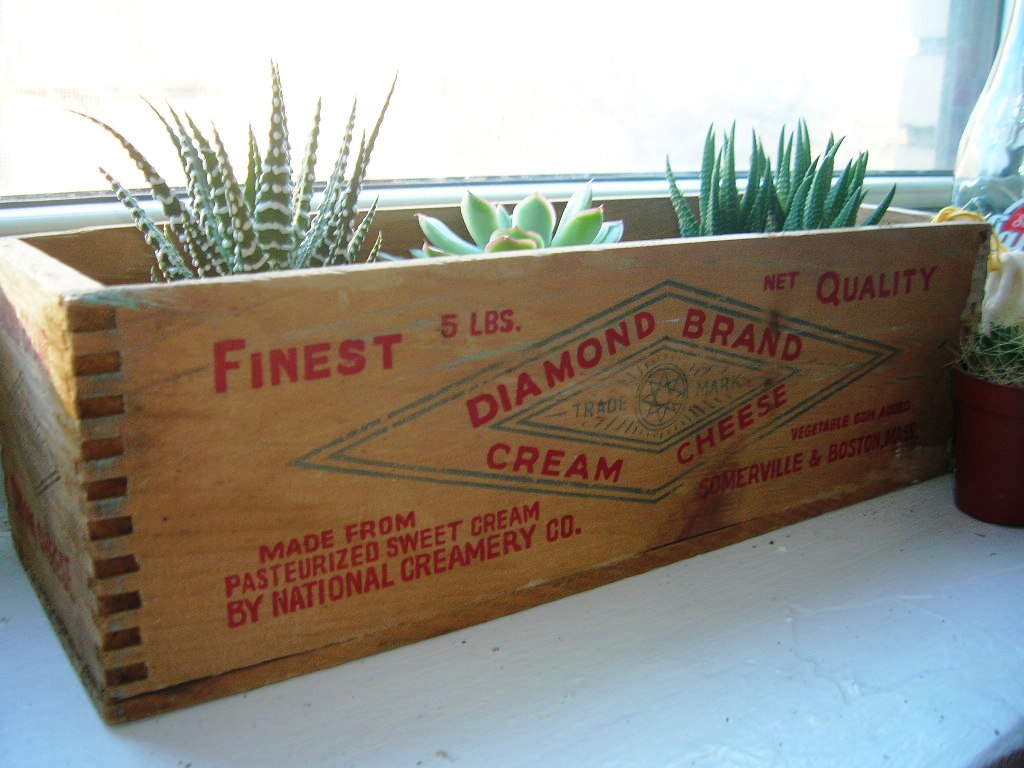
Well, this one is a bit complicated and requires time and some basic handyman skills. You can get it done from any handyman or do it yourself at home.
STEP 1: Take a Wooden Box
STEP 2: Lay the pond liner inside it. Fold the pond liner at the corners and staple it around the perimeter. Cut off the excess.
STEP 3: Place a perforated drain pipe or you can make the holes randomly on them.
STEP 4: Pack the soil around the pipes to keep them in place. Now make a big hole in the top end of the pipe to place a fill tube.
STEP 5: Add soil and plants.
How to Take Care of Your Self Watering Planter
- Change the soil each year.
- Keep the soil moist so that it wicks up the water.
- Make sure to refill the reservoir as necessary when the water level is low
- Be careful with your plant choices for the self-watering planter. Best plants for self-watering containers are those which grow in moist soil, for example, tropical plants and certain vegetables. Avoid using succulents and other plants that thrive in dry soil.
- Choose the vegetables that can stay within the boundaries of the container, such as carrots, cabbage, garlic and tomatoes.
So these are some DIY steps to build self-watering containers at home. What do you think? Let us know by commenting below!
0 Comments.